

I am so excited to share this with all of you today! A while back my friend Kristy found this cute little bench on Craig's list for my girls room (thanks again Kristy! We all love it!). It was super cute, but the bench top wasn't exactly cushy, and the fabric had some yuck-o stains.

Here is the before shot.
I knew from the get-go that I wanted to reupholster it.
Since I had never done anything like that before, it seemed like the perfect first project.
It really was too, this is so easy to do.
What you need:
Cut of home accent fabric large enough to wrap around the surfaced to be covered, plus and extra inch for stapling.
Same size cut of batting
Staple Gun and staples
Foam (I used a mattress topper cut to size and doubled up so that both outer sides were smooth)
Spray adhesive
Screwdriver (only if you need to remove previous staples)
Pen
I started this project by removing all of the previous staples using a flat screwdriver. Once that was finished I placed the piece of MDF that was already part of the bench on top of my mattress topper. I drew a line in pen about a half inch away from the edges, around the entire parameter of the board. It's good to have the foam a little larger. This prevents sharp edges and corners after it's stapled down. I did this twice so I had two pieces of foam.

Once that was finished, I sandwiched the two pieces of foam together so the bumpy ends were facing each other (see above). After I found a good placement, I lifted up one side and applied some spray adhesive, and then again did the same on the other side.

Look at that old icky foam - so glad I decided to take it apart!
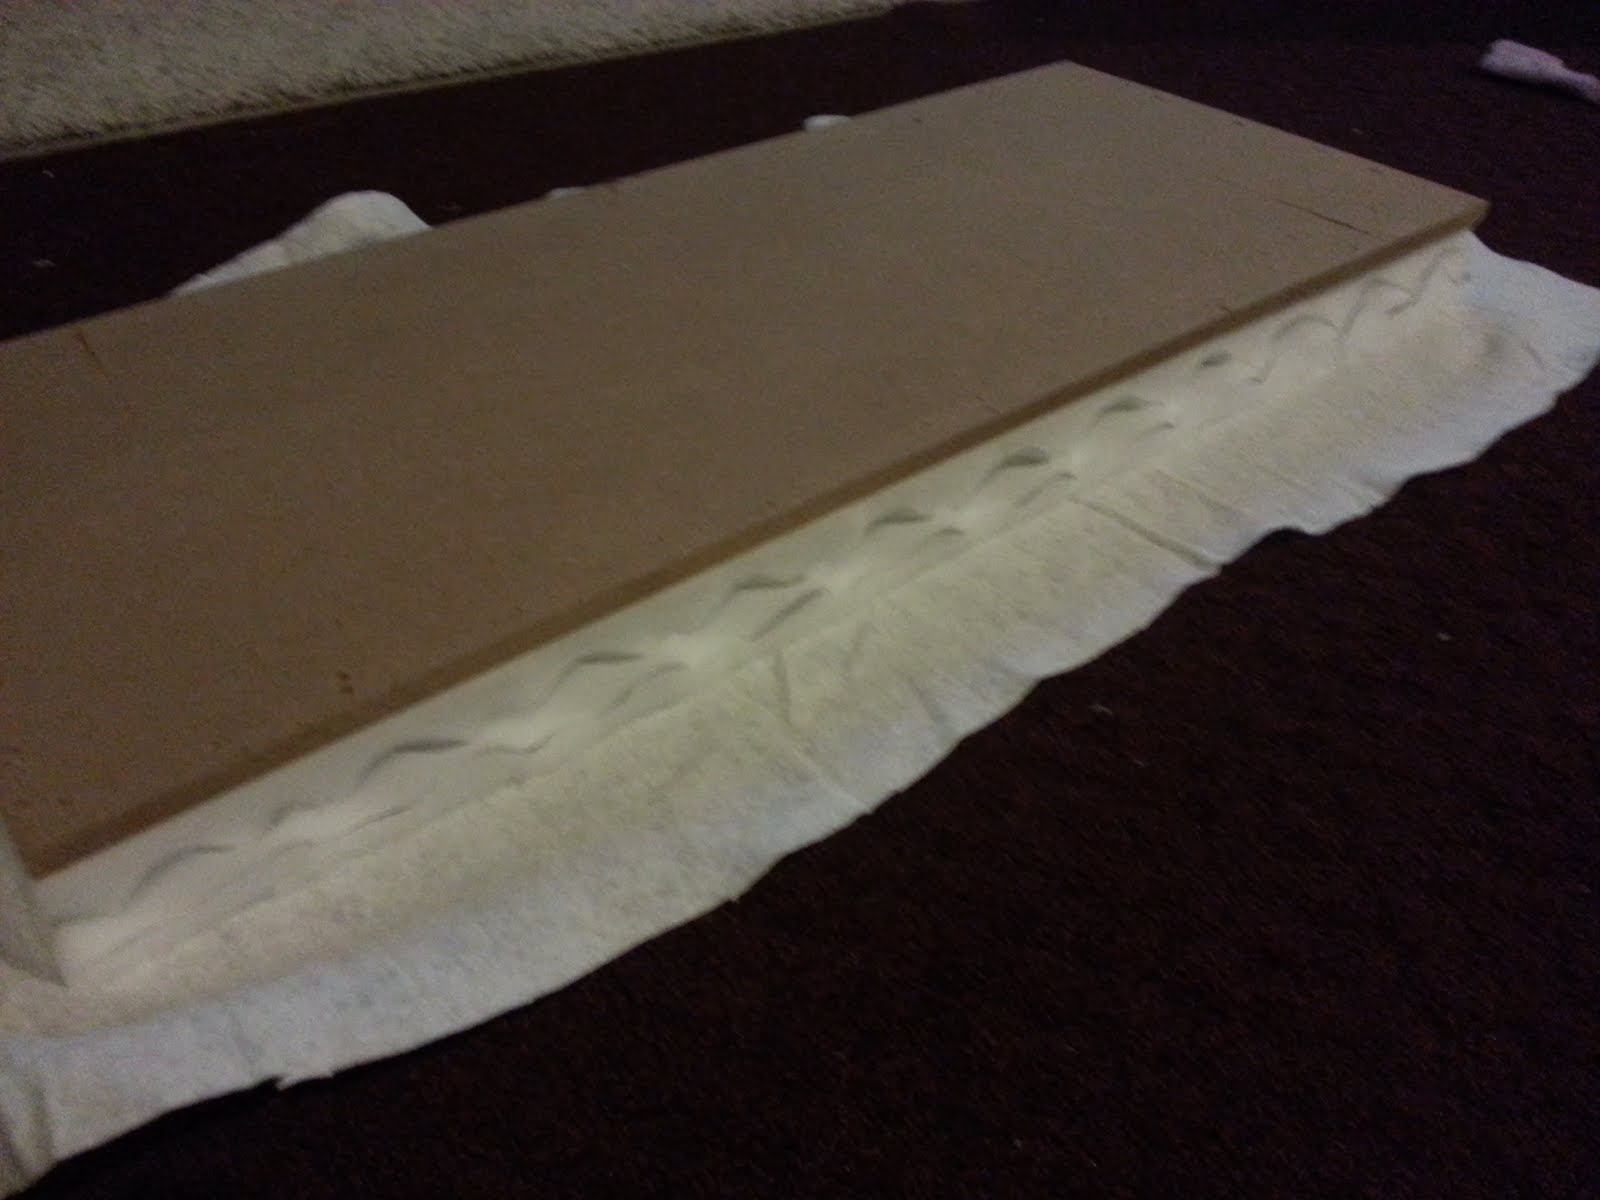
Nest, with the batting on the ground, I placed the foam sandwich on top, making sure there was plenty of batting to pull up and staple around the entire bench. I sprayed the foam with adhesive and placed the MDF on top. After letting that dry for a few minutes, I folded up the edges of the batting about a half inch and stapled all of it to the MDF. I wish I would have taken pictures of this part! To be honest, it was the first time I had ever used a staple gun, and I had so much fun, that I completely forgot the photos. Seriously.
When you do this, make sure to pull tight so that everthing is smooth and taught. I found the best results by starting on a long edge in the middle, followed by the opposite edge, then the center of the short edge, followed by the opposite edge and then stapling around in that fashion until all the edges were finished and taught. Don't be alarmed by the amount of staples, the more the better.
Once you have the batting in place, lay out your fabric in the exact same way, and staple that on in the same maner.
I absolutely love how it turned out! My girls love it too! I had some leftover fabric so I made a little decorative pillow. It doesn't normally sit on the bench, but on a white rocking chair on the other side of the girls room.

Thank you stopping by and letting me share this with you!
Wishing you a wonderful start to a beautiful week!
- Lisa
No comments:
Post a Comment