Tuesday, January 25

Painting Wet on Wet Part 2

About a week or so ago, I shared this photo of my first attempt at wet on wet watercolor painting. I wanted to experiment with it a bit before introducing it to my children. We all sat down the other night and gave it a go. The kids loved it! And I loved that while they were painting, they were creating little stories and characters out of the images that were being created. This is more abstract, and because the paper and paint are both very wet, it's near impossible to make "perfect" pictures, which can be great for the little artist who is not so sure of themselves. You could almost compare this to finding images in clouds.

What you need:
Watercolors (the kind in tubes that you mix with water)
Watercolor paper (this is a must because you wet the paper and it needs to be sturdy enough to still paint on)
Small cups (for paint dishes, and a water dish)
A sponge or dish towel
Paint brushes (bigger fanned brushes work best, but any will do)
Faucet
Plates (not paper - you'll see why in a moment)
Small towels for blotting brushes

I started with only two colors for each child so they wouldn't end up with a large brown smudgy picture.


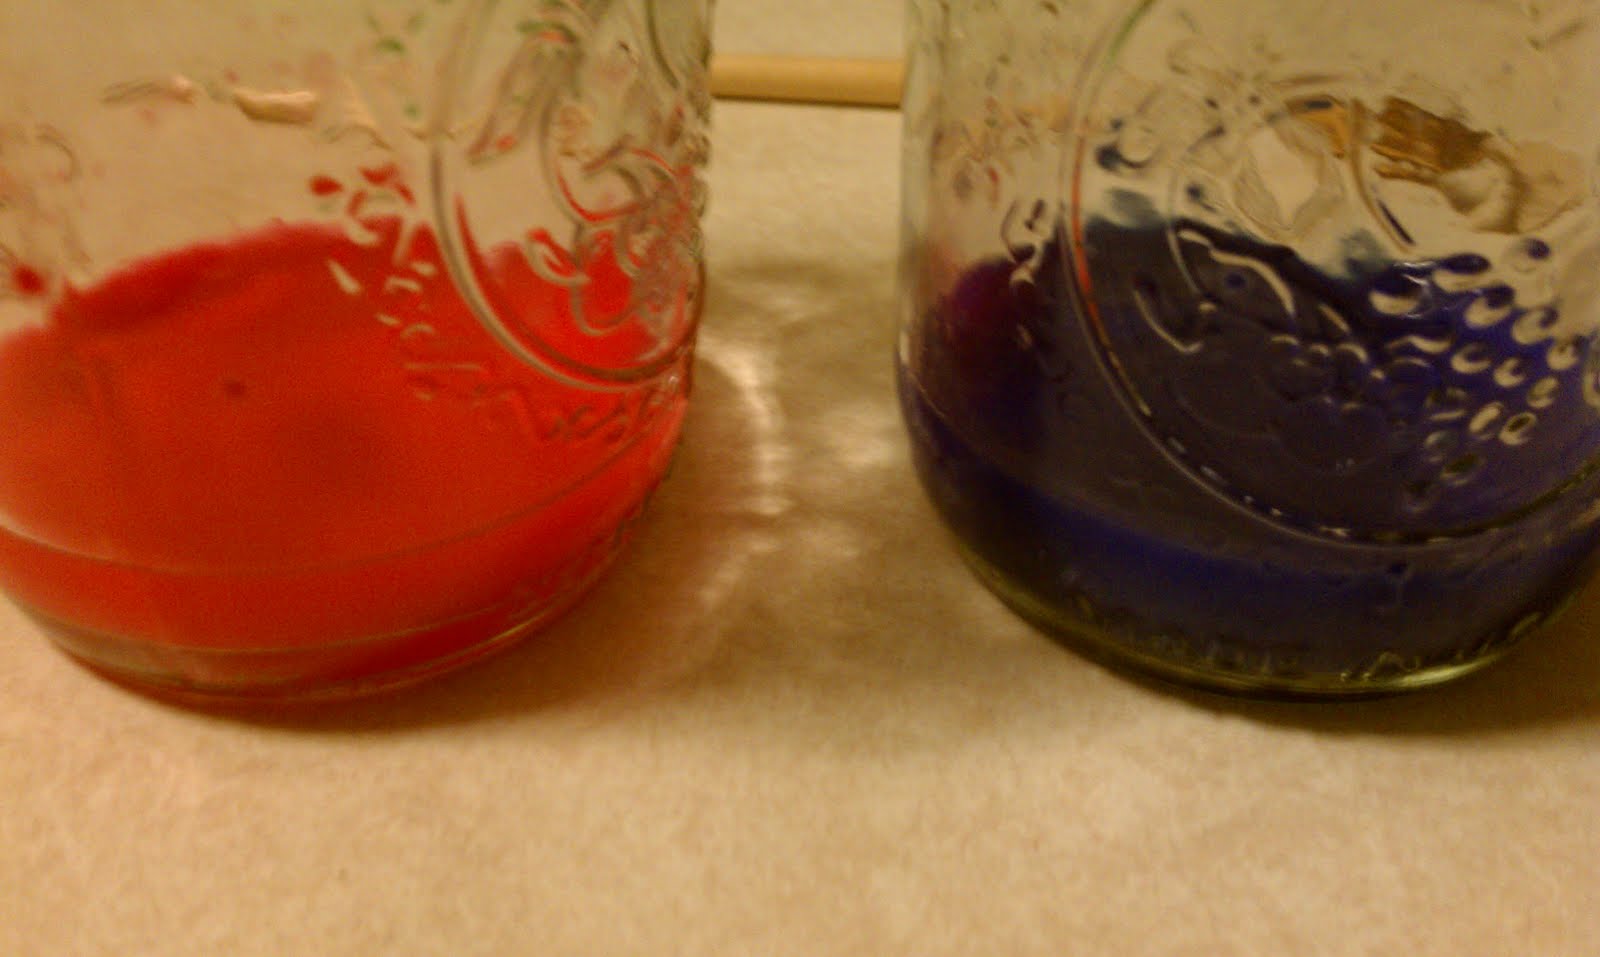
To avoid major spills, or flying paint (you never know!), I only gave them each as much paint as I thought they would use up. The amount in the pictures was actually still too much, but we didn't encounter any huge issues, so it was okay. I also cut each water color paper sheet into fourths. My children are smaller, so I think that works better for them, and it also made each page small enough to fit on a ceramic plate for the painting process (again, avoiding a huge potential mess).

Instead of dunking the paper in a bin of water, I just ran it under the faucet, and made sure every part was wet. Then I very lightly sponged off the excess water, put it on a plate and handed it over to the kids.


My daughter took to it right away, and ended up having a mini-meltdown when we ran out of paper for her. My son took a few minutes to get comfortable with the idea that he couldn't create solid lines and "perfect" pictures, but once he got over that, he had a great time. Both are still incredibly proud of their work, and so am I... The photos below really don't do them much justice.


Have a great day!
-Lisa


Friday, January 21

Easy Fruit Smoothies the Kids Will Love


Winter has hardly begun, and I'm already dreaming of Spring. We decided to make smoothies the other day because of this. Well, that and because they just taste super good. These are a standard in our house and the kids ask for them on regular basis. Here's how we do it...

What you need:
A blender
2-3 Cups Fruit (fresh or frozen, any kind)
Ice Cubes (if you're using fresh fruit, otherwise omit this)
1 Cup Plain Yogurt
1/4 - 1/2 Cup Fruit juice

You don't really have to measure anything with these - I never do. Just add your fruit to the blender first. For the smoothie pictured, I used 2 frozen banana's and maybe about 1 Cup of frozen strawberries. If your fruit is not frozen add a couple ice cubes. Place the yogurt on top of the fruit in the blender (again, I never measure this - once you've done it a few times, you'll just know how much to put in.) Pour in enough juice to get your blender to work and blend away until it's smooth and creamy.

Have a great weekend everyone!
-Lisa

Thursday, January 20

Bread Pudding Our Way

I just started making bread pudding a couple months ago, and it has been a huge hit in my house. I found an incredibly easy recipe for it at allrecipes.com, but have adapted the original enough that I think it's safe to share my version here.

What you need:

4-6 slices of bread (fill to 1/4 from the top of your dish - I use 8x8")
2 Tbsp melted butter
1 Cup raisins
4 eggs beaten
2 Cups milk
1/2 Cup raw sugar plus 1/4 for topping
2 tsp Cinnamon
2 tsp Vanilla

1) Pre-heat oven to 350 degrees and tear the bread into small chunks and place in an 8x8" pan

2) Add raisins and pour melted butter on top

3) Mix eggs, milk, 1/2 C sugar, cinnamon and vanilla in a separate bowl until well combined.

4) Pour mixture over the bread and push down on the top to make sure all of the bread gets wet.

5) Sprinkle remaining sugar on top and bake for 45 minutes.

That's it!
This makes the house smell incredible, and, like my other bread recipes I've shared this week, I always use stale or leftover bread that I've saved in my freezer. So I guess it's like a free breakfast/dessert too.

Enjoy!
-Lisa

Wednesday, January 19

Easy Homemade Croutons


I love croutons, and so does the rest of my family. It wouldn't be unusual to find one of us munching on a handful of just those, at any given time. These are so easy to do, and a great recipe to include the kids in.

What you need:
Stale Bread (I usually do 4-5 slices per batch)
1/4 C melted butter
Seasoning of choice
Baking sheet
Parchment paper

1) Preheat the oven to 400 degrees.

2) Brush both sides of each bread slice with butter and then cut into cubes.

3) Place cubes on a parchment lined baking sheet and sprinkle with seasonings (I used garlic powder, basil and fresh parmesan on the ones pictured here).

4) Bake for 10-20 minutes, be sure to check on them periodically because they burn easily. I also like to mix them around on the baking sheet after about 10 minutes.

Enjoy!
-Lisa

Tuesday, January 18

Easy Homemade Breadcrumbs - Honest!

This is hands down, the easiest way to make bread crumbs. It only takes minutes, and anyone can do it. No ovens involved!

Plus, if you have bread on hand, it practically costs nothing. I get such a thrill out of little things like this - I know, I'm a dork. But really, it maybe adds up to a nickle and it's so much healthier than the standard store bought crumbs which are filled with additives. I make all of our bread, and save the bead ends in the freezer for recipes just like this. I have two other stale bread end recipes for you this week - so be sure to check back.

Ok, that's enough jabber from me - see what a few non-blog days will do to me? Yikes!

What you need:
Bread (2 slices is usually enough for us)
Toaster
Blender (if you don't have a blender, you can just use a bag and a rolling pin or your hands)
Seasonings (optional and to taste)

1) First, toast your bread. You want it really toasted and dark brown (but not burnt), so set your toaster to a higher setting.


2) Place toast in a blender and pulse until your have breadcrumbs.

3) Add whatever seasonings you'd like to add a bit of spice or flavor. We usually add some parmesan, basil, garlic powder and onion powder - but feel free to get creative here.


Enjoy!
-Lisa

Monday, January 17

Ordinary Monday

**A Monday ritual. A single photo of something ordinary and small in our days, but still filled with happiness and moments worth remembering**


First off, Happy Martin Luther King day! If you're looking for a craft to do with the kids today, here is a link to last year's project.

Ok, ok, I know, you're probably wondering why I want to remember this. This is my first attempt at lacto-fermentation. I'll find out in a few days if it actually worked.

Last week was shortened on the blog, I was suffering from the absolute worst migraine I have ever experienced - so my apologies for the lack of a "heads up" on the quiet space.

Everything is back to normal though, and I have a whole week's worth of recipes and quick kitchen tricks for you.

Wishing you all a wonderful start to a beautiful week!
-Lisa

Wednesday, January 12

Making Progress


A little boy in this house will be turning six in a few weeks. Six! I can't believe it. I'm making him a couple gifts, and knowing how I have a tendency to procrastinate, I have decided to start now. He likes making paper crowns, so I figured, why not make a more durable version? I've seen wool felt crowns online, but I'm pretty sure it's something I can do myself. Here is the start. I still need to add some stabilizer and fabric covered elastic to the back. I also made the mistake of leaving my little project on the night stand. A set of two year old hands decided to let the dog do some work on it as well. I guess the gift will be from me and the dog :)

I'll be sure to share photos of the finished crown on his birthday.
Have a great day!
-Lisa

Tuesday, January 11

One Small Change - Dec. Update


It just dawned on me that I never gave an update on our small change from December. I made a post about my lofty goals for this year - but didn't really narrow it down to a specific monthly one. So I guess that's my goal for Janruary, find a smaller do-able goal for Februray. I should also mention that I think I jumped the gun on the other blog's theme, and overlooked the fact that they seem to be more focused on enviornmental changes - I'm more focused on our family right now, so I think I'll just do my own thing.

And so, if you don't remember my December change, you can read about it here. We have been successfully reading more everyday. I did however ditch the whole "sit in a special chair" idea - it's just too formal for my family. Besides, a lap is so much cozier than the floor, don't you think?

I have baskets in most of the rooms in the house that are filled with books, and I'm so pleased that the books are actually being used. A lot.

I wish I would have thought to do this sooner. I can't tell you how many times a day I feel a little tug on my shirt, or hear "can we read this?"

Unless I have a pot of something ready to boil over, or the dog needs to go out, I never say no.

Take Care!
-Lisa

Monday, January 10

Ordinary Monday

**A Monday ritual. A single photo of something ordinary and small in our days, but filled with happiness and moments worth remembering**

First let me assure you, she is just fine, and was being silly. For some reason, every time I look at this photo, I'm brought back to The Christmas Story, with the little boy who was so bundled he couldn't put his arms down. I'm sure we'll have a lot more moments like this one...


Wishing you a warm start to a wonderful week!
-Lisa

Friday, January 7

Turn Your Old Sweater Into Leg Warmers - Tutorial

I accidentally felted one of my sweaters the other day, and it shrunk so much I think it would have been small on my 5 year old. Then it dawned on me. The sleeves were the perfect size for Hannah's legs. She loves to wear skirts, so now she can wear them during the winter and stay warm - yay! I ended up making a pair for myself too, and my goodness do they make a difference. I wear them under my jeans, so you'd never know they were there. If you have ever experienced cold jeans on bare legs - here's the fix...

First find an old sweater. You don't have to felt it, but doing so will make them warmer (you can only felt sweaters that are at least 80% wool - acrylic will not felt). To felt a sweater, just put it in a pillowcase (so you don't end up clogging your machines with fuzzies), tie it closed and wash on hot for 1-2 cycles, then toss in the dryer (still in the pillowcase - trust me).

1) Lay your sweater flat and then cut off each arm like the photo below.

2) Snip off the slanted edge by the arm pit so that you have a straight edge, like the photo below.

3) Turn inside out and fold over half an inch on the cut end and stitch along the edge.


4) Turn right side out and you're done! The wrist end is already finished for you.


This may not be the prettiest leg warmer, but like I said, I wear them under my pants, so no one can see them anyway. My daughter's are a bit cuter...


Give it a try! The whole project takes about 10 minutes, start to finish. What have you up-cycled lately?


Thursday, January 6

Our Go To Pancake / Waffle Recipe


**This is our favorite pancake recipe, that also doubles as a waffle recipe (just use a bit less milk). I make double, sometimes triple, batches, and freeze what we don't eat right away. It makes getting a hearty breakfast on the table during rushed mornings a breeze. It's also such a quick and easy recipe in itself and really takes no more time than using the boxed stuff - and it's so much healthier.**

1.5 C whole wheat flour (or unbleached white flour)
3.5 tsp baking powder
1 tsp sea salt
1 tbsp raw sugar
1 & 1/3 C milk (if you're making waffles use 1 & 1/4 C)
1 egg slightly beaten
3 tbsp melted butter

Whisk together dry ingredients, then make a well in the middle and add wet ingredients and mix well.

Cook on med-low. (If making waffles, follow manufacturer's directions)

These get super fluffy, especially if you only flip them once. A good indication of when to flip the pancake is to watch for lots and lots of little air bubbles forming on the top.

Enjoy!
-Lisa

Wednesday, January 5

Artwork tags


I have been experimenting with a technique of using watercolor's on wet paper, also called painting "wet on wet". I wanted to get the hang of it before introducing it to my children. So here's a few photos of my little art time to myself. It's really fun and easy to do. When I sit down with my children to do this, I will share the process and more photos.

I cut up the painted paper and folded the pieces into gift tags and I think they came out pretty well.

Take care!
-Lisa

Tuesday, January 4

New Year, New Goals and Jumping Off The Deep End...


Those of you who know me well, or have been following my blog for a while, probably have noticed a dramatic shift. And so, just to ease some concern, I thought it might be appropriate to explain myself a bit. To some, I'm sure (probably my mom, lol - love you!), it looks like I've jumped off the deep end so to speak.

So, for starters, I'd like to say that no, I have no desire to transform myself into a "crunchy granola head" - whatever that is... And no, I will not be isolating my children from society or depriving them in any way, shape or form. In fact, to the latter, just the opposite.


About a year ago, exactly actually, I came up with a list of things I felt our family needed to improve upon or needed help in. Nothing super drastic or major, fortunately, we have always had a pretty stable environment. But just because something is stable, does not necessarily make it good. And so, my list from last year looked something like this...

1) Improve the quality of our meals
2) Spend more time together, just the four of us
3) Allot some sort of vacation time for just the four of us (nothing frilly, just a larger chunk of time)
4) Establish traditions
5) Be "Greener" - vague, I know, but I really didn't know what I was walking into at that point in time.

And truthfully, as I write this, I'm realizing that we accomplished all of those goals of mine. Which brings me to this year. I'm not big on the whole "New Year's Resolution" thing - in fact I'm quite certain if I made one, I'd break it in a day, truly. But I do like to set broad goals for myself, and what better time to do that than at the first of the year ;)

I spent most of my effort last year on improving the quality of our meals. My family has come a long ways since one year ago, but it took that entire time, and we (eh em, I) still have more work to do. To sum it up quickly, we have learned to make most everything we eat from scratch except for dairy and meat. Does that mean that's all we eat? No, but every month we seem to be eating less and less processed foods and most of what we buy is either grown or made locally.

I am getting to my main point soon, I promise! So that healthy eating journey led me down a whole lot of other side roads, and is responsible for all the wonderful new things I've learned that have absolutely nothing to do with food.

I became slightly obsessed with the whole idea of self-sufficiency. To the point that now, my ideal future would have us on a farm - yes, a farm. It might happen, it might not, but I figure it can't hurt to start learning and living as much of that lifestyle as I possibly can from where I am right now.

The farm ideal introduced me to homesteading. The ultimate in self-sufficiency. And so I started absorbing as much information on that as I possibly could.

Homesteading led me to natural child rearing. Making most of a child's needs by hand. Natural child development and seasonal growth.

Natural child rearing led me to Waldorf education and the idea of rhythm in our days and activities. I will never be a Waldorf purist, but I am definitely using a lot of the Waldorf methods.

Whew! And that is where I am right now.

So, for this upcoming year I only have one goal in mind, though it is a huge one to tackle.

I want to live simply, by choice, and teach my children the art living that way. Because truly, in today's world, to live really simple is sort of an art form.

Why?
Well, because I need my children to appreciate the small things in life. I need them to know that they are incredible human beings just for being them. That gadgets and gizmo's won't bring them happiness. The only thing that will bring them happiness is themselves, and their ability to shape their lives. They need to know how to be self-sufficient, because no matter how well they do in school, if they don't know how to take care of themselves, both emotionally and mentally, they will not reach their full potential.

Do I really think living simply will do this?

Yes, I do.

So over this next year (hopefully more!), there will likely be a lot of posts on this topic.


I'd love to hear from you. What are some of your goals for this year?

Monday, January 3

Ordinary Monday

**A Monday ritual. A single photo of something ordinary and small in our days, but still filled with happiness and moments worth remembering**

This seems to be the new favorite game in our house (at least while Hannah's napping anyway).


Wishing you a bright and sunny start to a wonderful week!
-Lisa