Showing posts with label Momma Craft. Show all posts

Friday, November 16

Thanksgiving Banner


Can you believe in less than one week, Thanksgiving will be here? It crept up on me this year, truly. I had so many things I wanted to accomplish before it got here - crafts, blog posts, new recipes...
 
I do have a few projects in the works and I am going to try my hardest to finish them up this weekend. And then of course share them with all of you during the week.
 
But today, I want to share a quick little banner I made with inspiration from the Silhouette blog, you can read that post here. 
 
I ended up making my own banner shape from scratch. If you have a cameo and would like to use my file, I am more than happy to share. You can download the free Silhouette Cameo files here.


I decided to use a metallic gold paper for the background. I'm loving all things gold right now. To view all the details in making this type of banner, please refer to the Silhouette tutorial I mentioned earlier.


I cut out a bunch of maple leaf shapes that were pre-loaded in my software for the cameo. Because they are not mine to share, they are not included in the free files, but my guess is that you already have them in your shape library.
 
 
Then, using some twin, I strung the banner together and using scotch tape, added bunched leaves to the corners.


Have a great weekend everyone!
-Lisa :) 

Tuesday, October 23

Quick Vinyl Dollar Store Project

 
Hi everyone! It's a busy week over here, so my posts will be on the shorter side.
 
I just wanted to pop in today to share a quick little dollar store project. I found these pink baskets a long time ago, and had planned on using them to hold the girl's "hair pretties" as we call them in our house.
 
Which was great at first, but then my four year old kept digging into my one year old's stash and clipping it bitty bows all over her head and her dolls and ponies and, well, you get the idea.
 
 
So, up they went on top of their dresser. The only problem? I couldn't see inside of them, I'm a little short. It may not seem like a big deal, but when we're doing the mad dash to get out of the house on time, I would prefer to always grab the right bucket for whoever needs a clip, and not have to think about it.
 
My solution? Vinyl of course!
 
 
I whipped up these little labels in about 5 five minutes, and 5 minutes later had them cut out and ready to go.
 
 
I liked the reverse image so much, and thought it would be wasteful to toss it. So The reverse image is one side...


And the actual design is on the other. And now, you can all see that my mirrors need to be cleaned. Maybe I should have been doing that instead of labeling "hair pretty" buckets ;)
 
I hope you are having a wonderful day!
-Lisa

Monday, October 22

DIY Reupholstered Bench Project

 
I am so excited to share this with all of you today! A while back my friend Kristy found this cute little bench on Craig's list for my girls room (thanks again Kristy! We all love it!). It was super cute, but the bench top wasn't exactly cushy, and the fabric had some yuck-o stains.


Here is the before shot.
 
I knew from the get-go that I wanted to reupholster it.
Since I had never done anything like that before, it seemed like the perfect first project.
 
It really was too, this is so easy to do.
 
What you need:
Cut of home accent fabric large enough to wrap around the surfaced to be covered, plus and extra inch for stapling.
Same size cut of batting
Staple Gun and staples
Foam (I used a mattress topper cut to size and doubled up so that both outer sides were smooth)
Spray adhesive
Screwdriver (only if you need to remove previous staples)
Pen


I started this project by removing all of the previous staples using a flat screwdriver. Once that was finished I placed the piece of MDF that was already part of the bench on top of my mattress topper. I drew a line in pen about a half inch away from the edges, around the entire parameter of the board. It's good to have the foam a little larger. This prevents sharp edges and corners after it's stapled down. I did this twice so I had two pieces of foam.


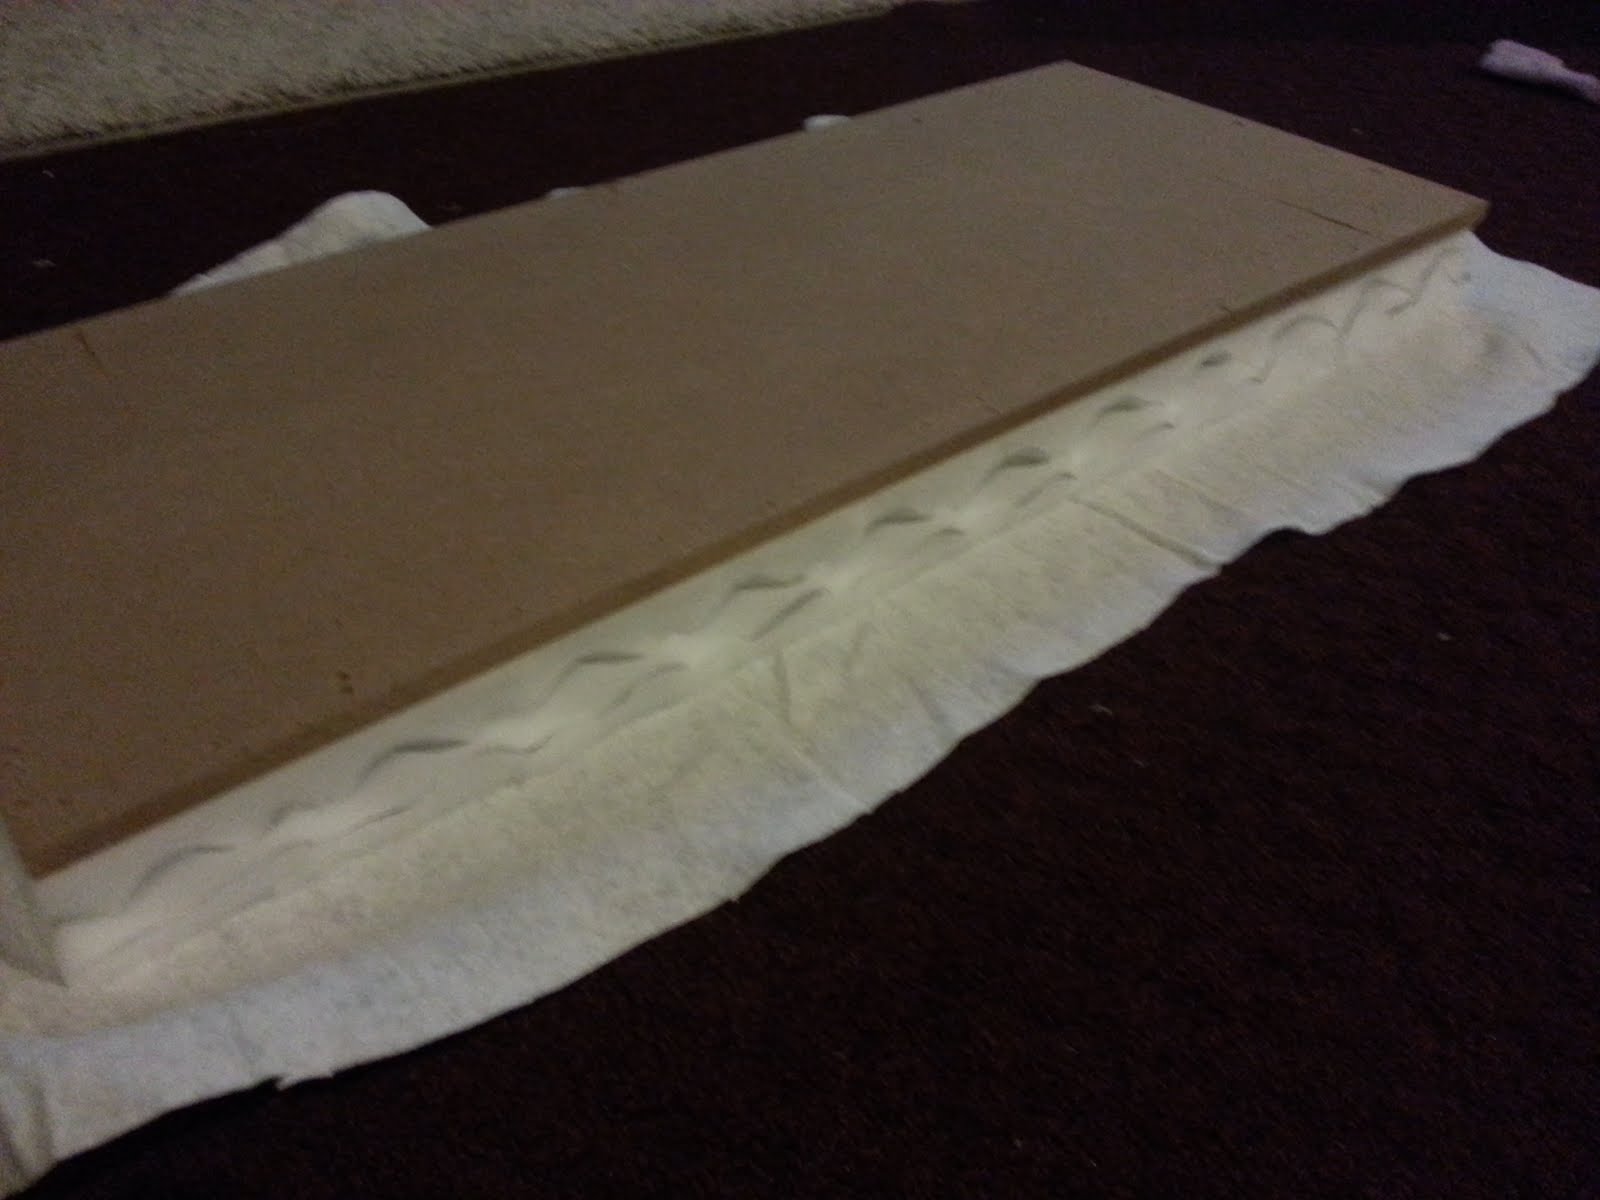
 Once that was finished, I sandwiched the two pieces of foam together so the bumpy ends were facing each other (see above). After I found a good placement, I lifted up one side and applied some spray adhesive, and then again did the same on the other side.
 
 
 Look at that old icky foam - so glad I decided to take it apart!
 
 
Nest, with the batting on the ground, I placed the foam sandwich on top, making sure there was plenty of batting to pull up and staple around the entire bench. I sprayed the foam with adhesive and placed the MDF on top. After letting that dry for a few minutes, I folded up the edges of the batting about a half inch and stapled all of it to the MDF. I wish I would have taken pictures of this part! To be honest, it was the first time I had ever used a staple gun, and I had so much fun, that I completely forgot the photos. Seriously.
 
When you do this, make sure to pull tight so that everthing is smooth and taught. I found the best results by starting on a long edge in the middle, followed by the opposite edge, then the center of the short edge, followed by the opposite edge and then stapling around in that fashion until all the edges were finished and taught. Don't be alarmed by the amount of staples, the more the better.
 
Once you have the batting in place, lay out your fabric in the exact same way, and staple that on in the same maner.
 
I absolutely love how it turned out! My girls love it too! I had some leftover fabric so I made a little decorative pillow. It doesn't normally sit on the bench, but on a white rocking chair on the other side of the girls room. 


 Thank you stopping by and letting me share this with you!
 
 
Wishing you a wonderful start to a beautiful week!
- Lisa

Thursday, October 4

DIY Butterfly Wall Art


Christmas came early for me this year my friends! A few days ago, my very own Silhouette Cameo showed up on my doorstep. Yay! For months and months I've been planning, plotting and pinning all the different projects that would be made possible with this awesome machine. I waited forever before finally buckling under the crafting pressure to actually buy it. But now that I have it, I'm thrilled!
 
There was a bit of a learning curve to get it up and running smoothly - and I think I have most of the kinks ironed out. Or at least I hope.
 
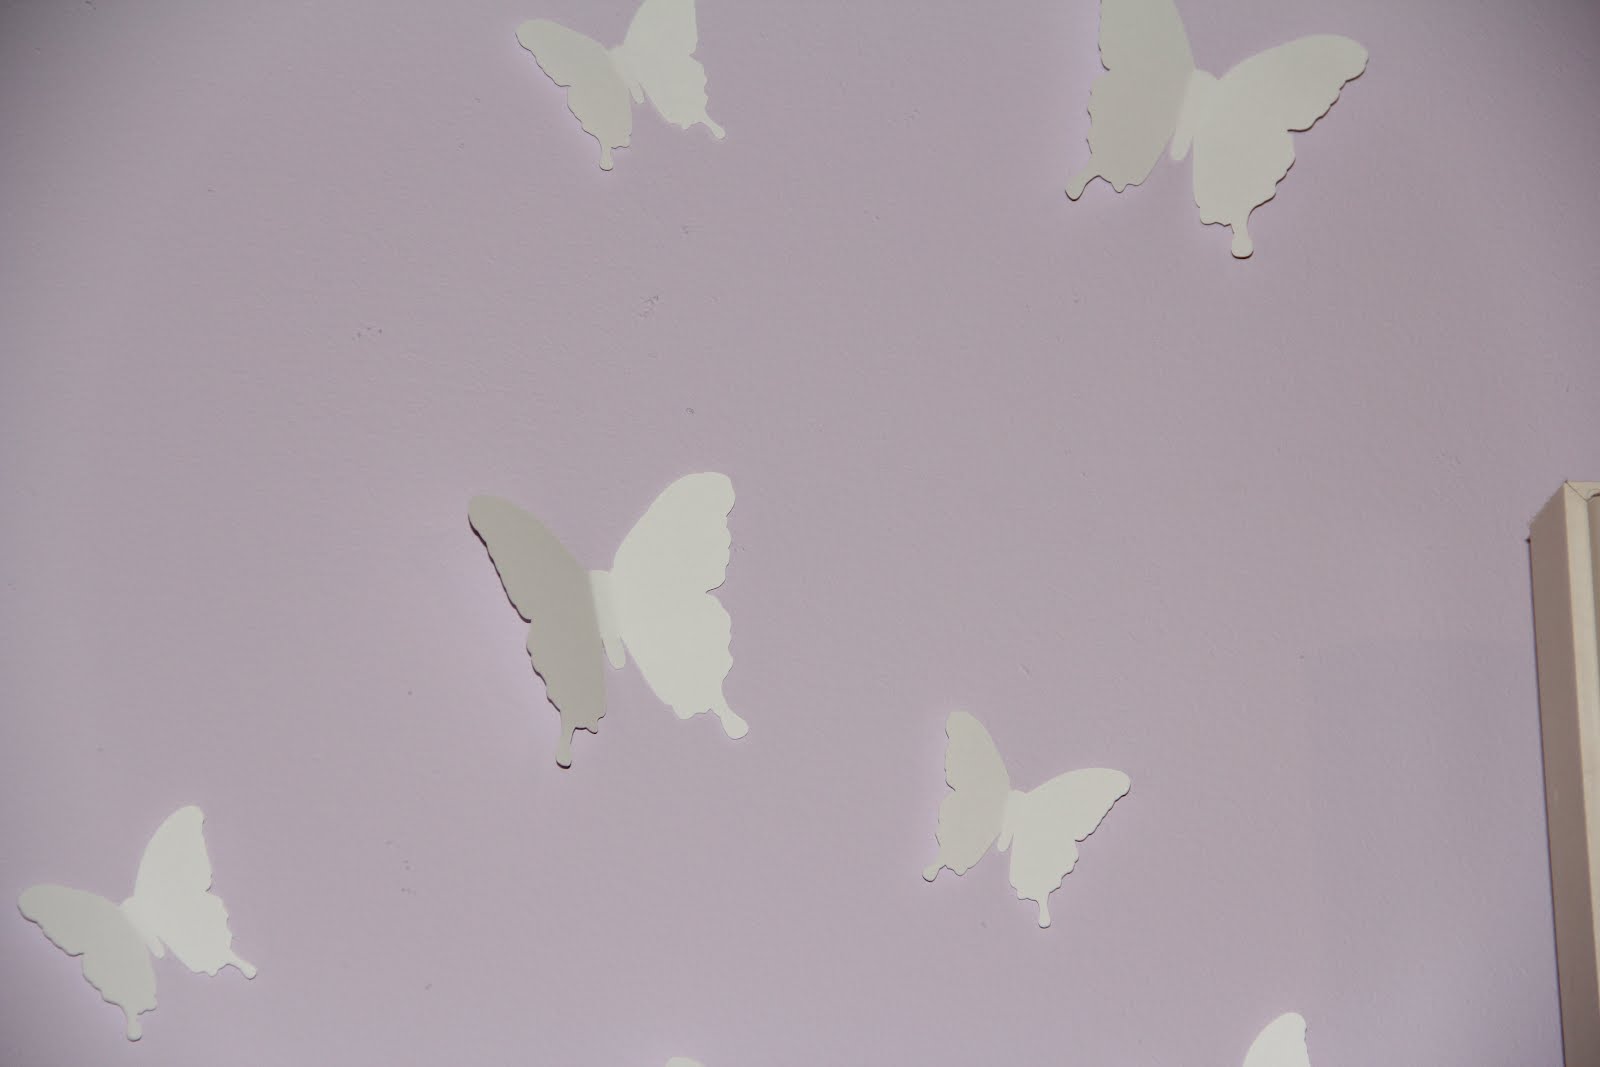
This was my first real project using the machine. You could easily replicate this by using butterfly hand punches. I think I have seen them at crafting stores. If you have a Silhouette, all you have to do is place nine regular sized butterflies on an 8.5 x 11 board, and six 3" butterflies on a board.


I used 65# white cardstock for this project. I absolutely love how white pops on pastels. Once you have your butterflies cut out, all you have to do is slightly bend each wing up. I used double sided tape to attach them to the wall. So far they are holding up well.
 
My girls were thrilled to see the butterflies - and I think that's what made the project a success for me.
 
Another awesome part? It only took about 15 minutes to do!
 
 
Have a great day!
-Lisa

Wednesday, October 3

Creating Space


Creating office spaces in closets has been showing up all over pinterest and on blogs like mad lately. Naturally, I ran to my closet to see if it could be done. We have a good size walk-in closet - but it had been neglected and was a mess of clothing piles, jammed shelving and quite honestly, boxes filled with unknown treasures ;) I'm a little embarrassed to admit this so openly, which is why I am sparring you a before shot of this project.
 
I spent an entire afternoon emptying the closest, dividing it fairly between Chris and myself, getting rid of what we didn't need, use or want, and organizing what was left. Doing that freed up an entire wall in my closet.
 
Then I happened across a handmade crafting desk on craigslist for only $20! The dimensions were perfect for our space - it almost seemed to good to be true.


This is a super heavy piece. It was built out of cabinetry and has a heavy duty laminate counter top. While we were trying to move it into the van, the leg caught and splintered so bad it had to be removed. Thankfully Chris is a great problem solver. He drilled a small 2x4 to the wall to act as a supporting shelf for the counter top. It's sturdy as can be and now has extra leg space below.


 The insides of the drawers on this desk were a little less than desirable. Even after a lot of washing and sanitizing, this is what I had to work with.
 
 
Sooooo, with a little decorative wrapping paper, some spray adhesive and an exacto knife, I made some custom drawer liners.


I love the way this turned out! I have had the paper in for a couple of months now and so far it is holding up wonderfully.
 
The original plan for this space was to house our computer, but in order to do that, we need to install an outlet. In the mean time, I've been using it as a crafting table. To be honest, I might just end up keeping it as that. Or it could even turn into a vanity if I were to add a mirror... Not sure yet, but I am sure that I love the extra space that was created with this project.
 
Have a great day!
-Lisa


Monday, October 1

Baby Bean Turns One!

 
Earlier in September, our little Stella turned one. We had a small celebration with just the five of us on her actual birthday. The family party was yesterday and I feel safe saying little Stella had a fabulous day - as did the rest of us.
 

Since you only turn one once, and I'm certain Lil' Stell will always be our youngest, I wanted to go a little above and beyond. I don't normally get all matchy-matchy and party decor crazy. The picture you see above... It may not look like much to those of you who have experience in the party planning department. But that's a big to-do in my world. And you know what? I loved every minute of creating it! The best part?? 90% of it was either printed out at home or free! Yay!


I found these incredibly cute owl themed printables here. Everything from cupcake toppers, to "Thank Whoo!" tags, to invitations is there - free to print out at home.


Chris and I went on a "perfect cupcake" quest that involved well over 150 cupcakes, 10 pounds of powdered sugar (oy!), a heck of a lotta butter and some really happy "experiment" taste-testers. We landed with a hands down, ultimate favorite - these carrot cake cupcakes are The. Best. Ever! I have never been a big fan of chocolate cake, so Chris had the final say in that category - his pick? These dark chocolate cupcakes - minus the filling, from Java Cupcakes. I really don't like chocolate cake at all, but these were delicious!


I tried my hand at a mini candy bar, and homemade chocolate owls. I think the molds for those and the striped paper straws were my only splurges. I painted the ends of large dollar store spoons to give them the color dip look. Next time I will make sure to print on the food labels to give everything a more polished look. My cupcake stands are just empty boxes wrapped in coordinating colors, with ribbon taped to the edges.


This is one of my favorites. I found this frame at our local thrift store for a dollar. It had already been distressed the way I wanted it - lucky me! I glued twine to the back, and using Picasa, I quickly converted a handful of photos into Polaroids. These are a small blurb of Stell's first year.


My happy little girl with her very own cupcake.


She was more interested in standing on her presents, than opening them. I guess that's what big sister's are there for. Miss Hannah was more than happy to help unwrap.
 
Thanks for stopping by!
 
Wishing you all a wonderful start to your week!
-Lisa

Wednesday, January 12

Making Progress


A little boy in this house will be turning six in a few weeks. Six! I can't believe it. I'm making him a couple gifts, and knowing how I have a tendency to procrastinate, I have decided to start now. He likes making paper crowns, so I figured, why not make a more durable version? I've seen wool felt crowns online, but I'm pretty sure it's something I can do myself. Here is the start. I still need to add some stabilizer and fabric covered elastic to the back. I also made the mistake of leaving my little project on the night stand. A set of two year old hands decided to let the dog do some work on it as well. I guess the gift will be from me and the dog :)

I'll be sure to share photos of the finished crown on his birthday.
Have a great day!
-Lisa

Wednesday, December 15

Our Little Gnome


I'd like to introduce you to the newest inhabitant of Hannah's Christmas stocking. Thankfully he's small enough that he has managed to go unnoticed inside the toe of that large sock. He is, in fact, my first little Gnome creation, and I think I'm hooked. There is just something about this little guy that I'm drawn to - and I know Hannah will be too, which makes it hard to leave him in that stocking of hers...

He's simple enough, made from a solid wood peg, and natural dyed wool felt. Add a little embroidery floss and a bit of glue and you have yourself this quirky little no-name gnome. He didn't take long to make, so I'm sure he'll have a few friends with him come Christmas morning. If you'd like to make one yourself, here's the free tutorial.

Take care!
- Lisa :)

Wednesday, November 24

Pom Pom Plants

I've been doing sooo much holiday crafting lately, and I want so desperately to share some of the projects with you. At the moment, though, I can not. Simply because many of the recipients read this blog - and I love that they read it! :) But I'm not about to ruin any surprises.

So with that said, I'd like to talk about this fun little project I came across on craftster the other day. Pom Pom Plants! Maybe I'm a little goofy (ok I am a little goofy), but I just love these. If you ignore the poor photo quality, these really do turn out cute - and it's a great use for those twigs that are all over the place right now. Not to mention a great way to use up yarn scraps.

It's super simple to do. Just collect some medium size fallen twigs, make pom poms, and then glue the twig inside the pom pom. If you're not familiar with making pom poms, or would like to see step by step instructions, you can view that here.

Enjoy!

Wednesday, November 17

Fairy Wee Folk

Hannah is just obsessed with Fairy's, she loves them, and thinks she is one for that matter. So, it only made sense to have her big Christmas gift this year be Fairy related. We decided on this, and absolutely love it! (I know she won't be checking my blog any time soon, so it's safe to share, lol). It's made of wood and constructed well, so there is no worry of chemicals and lead paint. It will hopefully be a toy she can one day pass on to her own children.

And so, this brings me to the actual fairy part. Though the fairy's made by the same company as the lodge are cute, I had come across some that I liked a bit more in a book called Felt Wee Folk by Salley Mavor.

Oh how I love this book! Not only does it give great detailed instructions, but the images are just beautiful! Salley Mavor does an excellent job creating scenes from her Wee Folk that instantly draw the reader in. Case in point, my 5 year old, who is sooo not into dolls, as he'll tell you, couldn't put the book down. He sat in his chair, head down, and lightly ran his fingers over the glossy pages, only stopping to look up at me to ask if we could make them. All of them. He's especially drawn to Hanzel and Gretel and the Pirates.

There are also instructions for making felt pins and purses. The projects start out very basic and easy enough for a child - so don't be intimidated. I will admit, it took me a while to put together this fairy, but I'm pretty sure it's because I had no clue what I was doing in the beginning. But I am proud of my very first fairy, and know there will be more. Actually, I don't think I have much of a choice. Between Austin and Hannah, I have my Wee Folk work cut out for me. My husband wants some for our Christmas tree too -which I think would look really cute. If you're interested, you can find the book here.

**Just a quick note, these have small parts, and children under 3 should be closely supervised if playing with them.**

Have a great day!

Wednesday, September 22

Canvas Tote Refab - Betz White

I have (had), this really drab canvas tote that I use for the gym. It was terrible, and had a large ugly orange stain on it from who know's what - seriously. I don't know why I kept using it. But anyway, I came across a really simple and super fast way to make it pretty! What's even better, I didn't spend a dime! I used a scrap piece of upholstery fabric that was given to me by Granny Grace (you'll see her name a lot in here by the way - and thank you again!) to cover it. The tutorial was written by Betz White. If you're not already familiar with her work, I highly recommend checking out her blog here.

Drum roll please.........


Ta-Da! I love it!


Here is the before picture - look at that awful orange stain! Blagh!

Start to finish, this took about a whole 15 minutes. To see the tutorial, and easy to follow directions, click here. Or look at the "What I'm Loving Now" section of my blog.

Thank you Betz White :)


Thursday, August 5

DIY Boutique Ruffle Trim Pants


Good Morning!
Fall is getting closer, and I found myself going threw Austin and Hannah's closets. Hannah has grown so much over the summer, it's almost unbelievable. All of her pants are "floods", so I went on a tutorial search for adding ruffles to the hem of pants. This adds more length to the pants, and extends their wear. I really couldn't find much of anything, at least nothing with pictures, so that is what led me to this tutorial. Please keep in mind, I'm a super duper beginner sewer. To be honest, if I can do it, anyone can, seriously - you should see me on a sewing machine, I can't even keep the speed of the presser foot even. Anyway, I'm guessing this little project will save me lots of money down the road, so it's definitely worth the time and effort.
1) Get the jeans you'd like to alter, and the fabric you'd like to use for the ruffle. To figure out how much you need, measure the diameter of the hem of the pants and then multiply that by at least 2, or up to 2.5. This will be your length. Hannah's pants were 12 inches in diameter at the hem, so I chose to cut the fabric piece to 24 inches. I could have gone a bit longer for fluffier ruffles. For the height of your rectangle fabric piece, determine how much length you need to add to your pants. I wanted to add 1.5 inches, so I cut the rectangle to 4 inches in height, and trimmed off an inch from the material of the pants.
  • My finished fabric rectangles measured out to be 4" x 24" - cut two of these at the size needed.

2). Iron, fold and pin down the bottom of each rectangle piece to make the hem.


3) Sew the hem, and then on the top of the fabric, stitch across two rows, the entire length of your fabric (this is for gathering and creating the ruffle). Make sure not to reverse stitch at either end of these rows so that you will be able to manipulate the fabric.


4). Take the top thread from each row in your hand, and slowly slide the fabric down. This will force the fabric strip to ruffle. Be careful not to break the thread, and use short quick pulling motions to gather it. This step takes a bit of time.


5) Once the fabric is gathered down to the length of the original pant hem diameter (Hannah's were 12"), sew the ends together to form circles.


6) Pin the fabric, wrong side facing you, to the bottom of the pants. The right sides of the fabric should be facing each other.


7) Sew along the bottom gathering line to ensure that the gathers won't peak threw once folded over.

8) Flip the ruffle down, and top stitch along the edge of the top of the ruffle to secure it down, otherwise the ruffles will have a tendency to flip up.

There it is! It's really pretty easy, and a forgiving project as well. I made a handful of mistakes along the way, I still think they turned out pretty good.