Friday, October 12

Homemade Chicken Broth Recipe

 
Welcome back! Today is the final day in my week of immune-boosting recipes! If you missed the previous days, be sure to check them out here.
 
I'm sure at some point in your life, when you had a cold, someone suggested chicken soup. I think most of us just chalk it up to an old-school recommendation. Believe it or not, chicken soup actually does help cure a cold. Read more about that here. It has to be homemade though.
 
This is another easy recipe, it just takes some time and a little planning ahead.
 
 
What you need:
 
1 Cooked Whole Chicken - meat picked off
1-2 bay leaves
Peppercorns
1 large onion sliced
2-3 Carrots chopped
1-2 Stalks of celery chopped
6 Cups of water
Large Stock Pot with lid
Colander or mesh sieve


1) Put the whole picked over chicken in the stock pot and cover with the six cups of water. Add bay leaves, peppercorns, onion, carrots and celery.
 
2) Bring to a boil and then reduce heat to a simmer. Allow to simmer for 1 hour, skimming off any fat that rises to the top. I usually cover mine with a lid.
 
3) After an hour, remove from heat and pour the liquid into a heat safe container or another pot, with either a colander or fine mesh sieve.


That's it! Super easy, just a little time consuming.
 
 
I buy our free-range chickens from a local farmer and end up paying about $12 each. That may seem like a lot, however I can typically get about two real dinners out of the chicken meat, and I end up with 4-6 cups of stock for soup and cooking. So if you were to add all that up, I think it's a pretty good deal.
 
If you want to make chicken soup, all you have to do is add some noodles, extra veggies and salt and pepper to taste. We make these noodles.


Pair your soup with some crunchy homemade bread or rolls and you've got a quick, nutritious and warm lunch or dinner!
 
 
Have a great weekend everyone!
-Lisa

Thursday, October 11

Garlic and Oil Saute Recipe


This is day four in my week of immune-boosting recipes. If you missed the other days, be sure to click here!

  Garlic is a great health-booster, and in my opinion necessary in a healthy, balanced diet. It has been used medicinally for thousands of years. Garlic lowers blood pressure and LDL Cholesterol. It helps regulate blood sugar and prevent blood clots. It also has anti-viral properties and antioxidants. It has a lot more health benefits, click here to read more.

  You need quite a bit of garlic to reap all those rewards. A super easy way to get a large dose of garlic is to saute veggies and pastas in garlic and oil. If you've never sauteed, don't be intimidated, it's actually really easy!

  Below is my go-to easy garlic and oil saute recipe...

What you need:

Large frying pan or saute pan
Olive oil (organic if you can)
Sea salt
Pepper
Minced Garlic
Wooden spoon
Any raw or lightly steamed veggies or cooked pasta


1). Pour enough olive oil into your pan to thinly cover the entire surface area.

2) Turn on your stove to med-high heat and sprinkle 1/4 tsp sea salt and 1/4 tsp pepper (or more to taste). Add 1-2 Tablespoons of minced garlic - again, depending on your tastes and how garlicky you want your dish.

3) Allow your oil mixture to heat up for about a minute and then add your veggies. Push the veggies around in the pan with the wooden spoon while they cook to avoid burning. Continue in this fashion until your vegetables are tender.

4) Turn off the heat. If you would like to add pasta (it must be fully cooked), now is the time to add that to the pan and again push everything around with the spoon to avoid sticking and burning.

5) Transfer everything to a bowl or serving dish and you're done!

This is so so good and has endless possibilities!

Wednesday, October 10

Ginger Tea Recipe

 
Welcome back! It's day three in my Immune-Boosting Recipe week. If you haven't already, be sure to check out day's one - Matcha Muffins and two - Green Smoothies.
 
  Ginger has been used in natural remedies for ages. Ginger has anti-inflammatory properties, and is very often used in cold and flu remedies. To learn more about the benefits of ginger, click here.
 
Ginger tea is one of my favorite drinks in the fall and winter. I also love drinking this tea when I have a sore throat. It's so easy to make too!
 
 
Ginger Tea
1 C Hot Water
1 Tbsp fresh ginger
Honey to taste
 
 
You will need a vegetable peeler, 2 cups, a fine mesh sieve and a grating tool for this recipe.


1) Using a vegetable peeler, remove the skin from the end of a fresh ginger root.


2) Grate 1 Tbsp of ginger directly into the hot water. I usually eyeball this measurement, it's pretty forgiving.
 
 
3) Allow to steep for 2 minutes. You can cover the cup with a towel or small plate to help keep the water hot.
 
 
4) Pour the liquid from one cup to the other, using a fine mesh sieve to catch the ginger bits. Push any extra liquid out of the pulp in the sieve.
 
 
Add honey to taste if desired, and enjoy!
 

Tuesday, October 9

Green Smoothies

 
  Welcome back! This is day two of my Immune-Boosting Recipes week. If you missed yesterday's Matcha Muffins, be sure to check it out here.
 
  We are a smoothie loving family. I've been buying huge tubs of plain yogurt to make breakfast smoothies for years now. Plain yogurt (yes plain, everything else is loaded with either sugar, or even worse, artificial sweeteners) is filled with probiotics that play a large role in creating and maintaining a healthy immune system. Pair that with a bunch of fruit and fresh, raw greens that add more vitamins and antioxidants, and you've got yourself one healthy, immune boosting drink!
 
 
  These are so easy to make, and it can be done in a regular blender. If you're lucky enough to own a blend tec or Vitamix, your smoothies will be smoother - like that? But any old blender will do just fine. You will likely have little green specs visible in your drink, but be creative. You could tell your kids it's a monster smoothie, or alien tonic (that last one worked for me).
 
 
Another nice aspect to the smoothie is how versatile it is. You can mix and match fruits and juice and greens. Experiment a little and see what your family likes best.
 
 
Here is how we do ours...
 
 
Green Smoothie
 
1 C plain yogurt
1 C juice (apple, orange, grape - anything)
1 banana, broken into chunks
2 C frozen fruit
Fresh, raw spinach
1 Tbsp Chia seeds (optional)
 
1) Add all your ingredients except the spinach.
2) Add spinach  (I just fill it to the top)
3) Cover and blend. Using a spoon, push down the spinach and blend.
4) Repeat until blended to a uniform consistency


This smoothie we made didn't end up so green. We used a lot of blueberries in this batch, so it had more of a brownish color to it. Thankfully my little ones could have cared less. They absolutely love green smoothies and ask for them daily.
 
What are some of your favorite green smoothie combinations?

Monday, October 8

Matcha Muffins Recipe


  I hope you all had a great weekend! We were finally able to venture out of our house for a while - everyone is on the mend and feeling much, much better.
 
  Last week, I shared one of our favorite quick and healthy snacks, you can view that post by clicking here. I also mentioned that I was starting a new series on the blog - Immune Boosting Recipes. Every day this week, I will be sharing a new recipe that has immune boosting ingredients. Most of these I will try to keep kid-friendly since that was my main purpose in this pursuit - to boost my children's immune system as we march into cold and flu season. After this week, I will continue to add recipes to this category as I find good, kid-friendly and relatively easy to fix dishes and snacks.
 
  Which brings me to my first recipe to share... Matcha Muffins! If you're not familiar with matcha, you can learn more here. What is so great about Matcha you may ask? To start, it has more antioxidants than blueberries, pomegranates and spinach (source). While that would be reason enough for me, it has also been touted to help in the fight against cancer, HIV and obesity (source).
 
  Matcha is typically consumed as a tea, but I know my children well enough to not even attempt to offer that. I figured my best best would be to bake it in something I know they already enjoy. On a side note, when you are purchasing matcha, read the labels very carefully. I was distracted and in a hurry when I bought mine, only to find out at home that it is not 100% matcha, but a mix of that and green tea. So, when you make your muffins, they will be a bright green color, and not the color of the muffin here. This worked just as well, but it also has itty-bitty tea leaves in it. I ordered pure matcha from Mountain Rose Herbs (were I get most of my herbs and spices), but I have to wait for it to be shipped.
 
  I was so excited when my kids gobbled these up! I did drizzle a little honey over the top to add some extra sweetness. There is a distinct tea flavor in the matcha muffins and I was afraid they might get snubbed by my little food critics. Over time, once they are accustomed to the flavor, I will be able to use a little less honey and then hopefully none at all.
 
 
Matcha Muffin Recipe
 
1 2/3 C  Whole grain flour
1/2 tsp  sea salt
1 tsp  baking aluminum free baking powder
1 1/2  Tbsp Matcha
1/2 C  organic cane sugar
1  egg
1/3 C  applesauce
1 C  Milk
 
Pre-heat oven to 350 degrees - yeilds 12 muffins
 
1) Whisk together all of the dry ingredients in a medium bowl.
2) In a small bowl, add egg and applesauce. Whisk together.
3) Slowly pour milk into the egg and applesauce mixture, whisk while pouring.
4) Add the wet ingredients to the dry ingredients and gently mix until just combined - be sure not to over mix.
5) Fill muffin tins 3/4 full.
6) Bake for 25 minutes or until a toothpick placed in the center comes out clean.
 
Allow to cool and enjoy!

Friday, October 5

Healthy Snack and Immune Boosting Intro

 
Lately it seems like my children have been sick constantly. Really, every other week someone has something, and a lot of the times it's two or all three that have a cold, fever or something else. I know that part of the problem is Hannah starting public school for the first time. Her body hasn't built up immunity to a lot of the common colds that swarm the schools. Unfortunately she has been getting sick the most, and I'm sure that's why.
 
I have also convinced myself that it has a huge part in what has been on the table these last few months. Our schedules have been crazy and I let homemade healthy recipes fall to the back burner. We are still eating "ok", but most of it is processed or take out - which is not alright with me.
 
So, as we head into cold and flu season, I am arming my recipe index with immune boosting snacks and meals. Last year, when we were eating really well, we were hardly sick at all. We don't do flu shots in my house, and I'm not a fan of supplements. I think the best thing I can do for my family right now is build up their germ-fighting immune system as best I can with real and whole foods.
 
This coming week, every day, I will be sharing a new immune building recipe. After that, I hope to add more health boosting recipes regularly.
 
To kick-start this new little series on the blog, I thought I would share a quick, easy and delish little snack you can whip up in no time at all. These little guys are packed full of healthy ingredients, and are a crowd pleaser as well - you can't always say that.
 
For the recipe, click here.
 
Have a great weekend!
-Lisa

Thursday, October 4

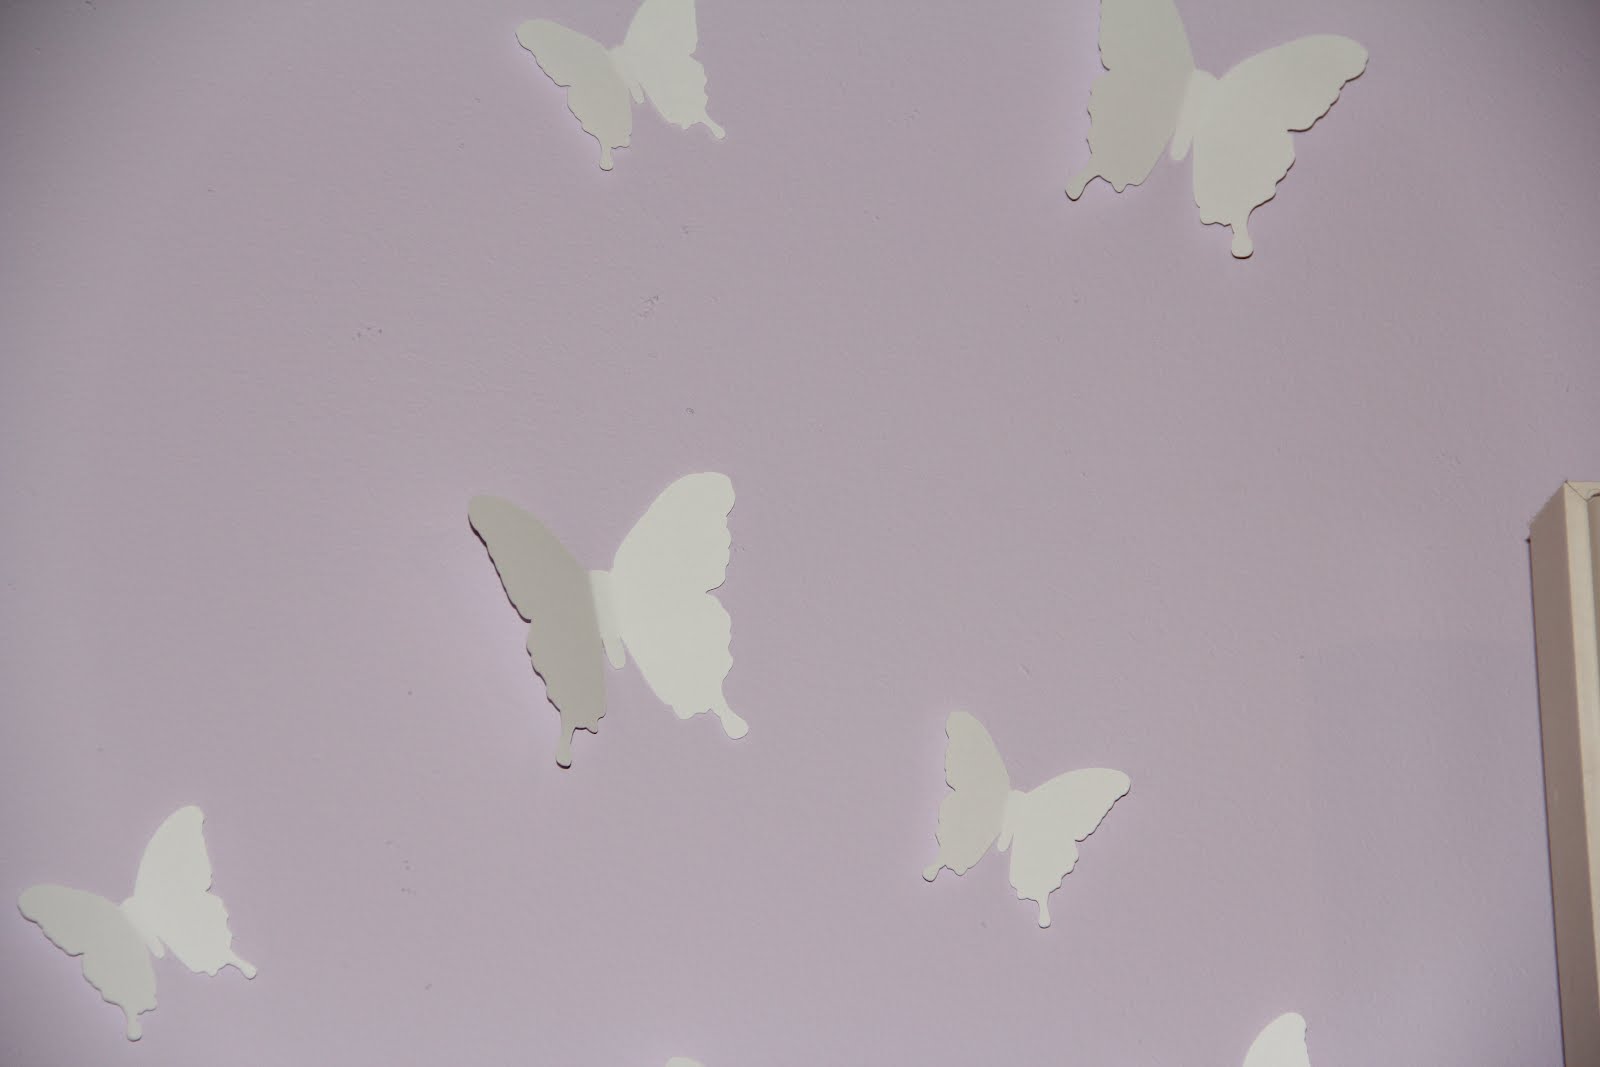
DIY Butterfly Wall Art


Christmas came early for me this year my friends! A few days ago, my very own Silhouette Cameo showed up on my doorstep. Yay! For months and months I've been planning, plotting and pinning all the different projects that would be made possible with this awesome machine. I waited forever before finally buckling under the crafting pressure to actually buy it. But now that I have it, I'm thrilled!
 
There was a bit of a learning curve to get it up and running smoothly - and I think I have most of the kinks ironed out. Or at least I hope.
 
This was my first real project using the machine. You could easily replicate this by using butterfly hand punches. I think I have seen them at crafting stores. If you have a Silhouette, all you have to do is place nine regular sized butterflies on an 8.5 x 11 board, and six 3" butterflies on a board.


I used 65# white cardstock for this project. I absolutely love how white pops on pastels. Once you have your butterflies cut out, all you have to do is slightly bend each wing up. I used double sided tape to attach them to the wall. So far they are holding up well.
 
My girls were thrilled to see the butterflies - and I think that's what made the project a success for me.
 
Another awesome part? It only took about 15 minutes to do!
 
 
Have a great day!
-Lisa

Wednesday, October 3

Creating Space


Creating office spaces in closets has been showing up all over pinterest and on blogs like mad lately. Naturally, I ran to my closet to see if it could be done. We have a good size walk-in closet - but it had been neglected and was a mess of clothing piles, jammed shelving and quite honestly, boxes filled with unknown treasures ;) I'm a little embarrassed to admit this so openly, which is why I am sparring you a before shot of this project.
 
I spent an entire afternoon emptying the closest, dividing it fairly between Chris and myself, getting rid of what we didn't need, use or want, and organizing what was left. Doing that freed up an entire wall in my closet.
 
Then I happened across a handmade crafting desk on craigslist for only $20! The dimensions were perfect for our space - it almost seemed to good to be true.


This is a super heavy piece. It was built out of cabinetry and has a heavy duty laminate counter top. While we were trying to move it into the van, the leg caught and splintered so bad it had to be removed. Thankfully Chris is a great problem solver. He drilled a small 2x4 to the wall to act as a supporting shelf for the counter top. It's sturdy as can be and now has extra leg space below.


 The insides of the drawers on this desk were a little less than desirable. Even after a lot of washing and sanitizing, this is what I had to work with.
 
 
Sooooo, with a little decorative wrapping paper, some spray adhesive and an exacto knife, I made some custom drawer liners.


I love the way this turned out! I have had the paper in for a couple of months now and so far it is holding up wonderfully.
 
The original plan for this space was to house our computer, but in order to do that, we need to install an outlet. In the mean time, I've been using it as a crafting table. To be honest, I might just end up keeping it as that. Or it could even turn into a vanity if I were to add a mirror... Not sure yet, but I am sure that I love the extra space that was created with this project.
 
Have a great day!
-Lisa


Monday, October 1

Baby Bean Turns One!

 
Earlier in September, our little Stella turned one. We had a small celebration with just the five of us on her actual birthday. The family party was yesterday and I feel safe saying little Stella had a fabulous day - as did the rest of us.
 

Since you only turn one once, and I'm certain Lil' Stell will always be our youngest, I wanted to go a little above and beyond. I don't normally get all matchy-matchy and party decor crazy. The picture you see above... It may not look like much to those of you who have experience in the party planning department. But that's a big to-do in my world. And you know what? I loved every minute of creating it! The best part?? 90% of it was either printed out at home or free! Yay!


I found these incredibly cute owl themed printables here. Everything from cupcake toppers, to "Thank Whoo!" tags, to invitations is there - free to print out at home.


Chris and I went on a "perfect cupcake" quest that involved well over 150 cupcakes, 10 pounds of powdered sugar (oy!), a heck of a lotta butter and some really happy "experiment" taste-testers. We landed with a hands down, ultimate favorite - these carrot cake cupcakes are The. Best. Ever! I have never been a big fan of chocolate cake, so Chris had the final say in that category - his pick? These dark chocolate cupcakes - minus the filling, from Java Cupcakes. I really don't like chocolate cake at all, but these were delicious!


I tried my hand at a mini candy bar, and homemade chocolate owls. I think the molds for those and the striped paper straws were my only splurges. I painted the ends of large dollar store spoons to give them the color dip look. Next time I will make sure to print on the food labels to give everything a more polished look. My cupcake stands are just empty boxes wrapped in coordinating colors, with ribbon taped to the edges.


This is one of my favorites. I found this frame at our local thrift store for a dollar. It had already been distressed the way I wanted it - lucky me! I glued twine to the back, and using Picasa, I quickly converted a handful of photos into Polaroids. These are a small blurb of Stell's first year.


My happy little girl with her very own cupcake.


She was more interested in standing on her presents, than opening them. I guess that's what big sister's are there for. Miss Hannah was more than happy to help unwrap.
 
Thanks for stopping by!
 
Wishing you all a wonderful start to your week!
-Lisa

Saturday, September 1

Play Kitchen Update


A very, very long time ago, I posted about an awesome garage sale trip. The best one ever actually. At one house I found everything I had on my searching for list - and at crazy good prices. I showed all of you the cute little table and chairs for the girls' room. I sanded that down and painted the tops a light purple. I also scored an adorable pint-sized white rocking chair so Hannah could rock her babies while I rocked Stella (who was still in my tummy at that time - see I said it was a long time ago). What I did not show you was this awesome kitchen set.
Hannah and I feel in love!
It didn't look like this when we bought it though, so I waited to show it off.


This is the original set.
 
From the picture here, it doesn't look too bad, but in real life it was pretty grimy. I had to scrub everything down with magic erasers and soapy towels. We scraped off the weird foamy black circles on top of the stove too.


Here are some close ups of the finished kitchen. After procrastinating for about a year, I finally chose a paint color and went to town. The project ended up taking me close to a month to finish because of sick kids and a cranky teething baby - but it was well worth it!


Chris removed all of the hardware for me so that it could be spray painted a metallic silver. We replaced the foamy stove burners with wooden circles I found at JoAnn's. The color scheme came from some Pottery Barn inspiration seen below.

I found these super cute pink knobs at Hobby Lobby.


Overall I'm really happy with the kitchen. It has TONS of storage for toys too - which is awesome for our tiny play area. It's still a work in progress. I want to add an Ikea towel bar and paint the inside of the fridge door with chalk board paint. It could use a few decorative touches here or there as well.
 
 I finally felt like it was worth sharing at this point
 
I'll share updates when they're finished.
 
I hope everyone has a fun and safe long weekend!
-Lisa

Wednesday, August 8

Organization On a Budget - DIY Daily System

source

For about the last year or so, I have had my eye on Pottery Barn's Daily System (shown above). Unfortunately for me, I can't quite bring myself to cough up the money for this amazing system. For all the parts - yes, it is purchased in parts - that I want, would have me spending upwards of $200. I'm all for organization that is both attractive and functional - but I'm not down with dropping all my cash for that perk.

Which brings me to my first project to share!

It's not perfect or completely finished - but I couldn't hold back my excitement about my project any longer. I just had to share. So far I have invested a total $23 into my system and I'm pretty excited about that. In all fairness, I did have the giant sized cork board going unused in my basement already - as well as the paint - so I'm not including those in my total spent. You can find a cork board this size at discount stores for around $5-10 - still not a bad deal.
Here is what I did...
I have been wanting to do something with is awkward wall of mine since moving in 8 years ago (true story! Eight years and no ideas on my end). You can't see in the pictures, but there is only about 3 feet of walking space between that wall and another wall as well as the door to our basement. Nothing ever seemed to work. When I fell in love with the Daily System from Pottery Barn, Chris and I agreed that it would be a perfect fit for that wall. But neither one of us had any intention of actually buying the system - again - budget issues. So the wall remained empty and my fridge remained covered in papers.
Until.... A light bulb went off in my head and a realized I could use that old cork board and paint it the color of my walls with our tub of touch up paint! I ran right out into the garage and started painting. I decided to tape off the cork and paint the trim of the board white to add some contrast. Easy peasy. The whole painting part was finished in 30 minutes, start to finish.
Then I went on a search for hanging pocket folders that would mimic the style of the Daily Systems folders. It took a while but I finally found these!


source

They were perfect! And at $9 a piece, worth it in my mind. They are heavy duty, match beautifully and work like a charm. I did have to attach them to the cork board with my glue gun because the adhesive backing was not sticky at all. You can also just use the giant push pins that come with it, but they are huge and sharp and I really don't want one of my children to accidentally come in contact with one of those ginormous sharp pins.


I found simple and easy to attach tiny command hooks for a key holder. This came about right when we "lost" our second set of keys. I think that helped drive home the importance of having a place for said keys so that didn't happen again in the future. Thankfully two weeks later the lost set magically appeared inside the pocket of a pink stroller. Hmmmnnn... Did I mention this is out of reach for the smaller people in our house?

This is in a high traffic area of our house, so we decided to drill it to the wall. I just painted over the screws.


When I finally get around to buying more ink for my printer, I will type out the labels to give this a nicer appearance. I'm also on the search for a pretty calendar and a way to hold pens to the board so I don't have to keep walking to the other side of the wall for them.

 All in all, I'm thrilled with this simple little system. My refrigerator is cleared off and looks awesome blank - my mom actually thought we bought a new one! It's amazing what a clear fridge does for the appearance of a kitchen. I also love that now all the paper work I need for each child is easy to find at a moments notice. When Stella starts school, I will just simply attach one more folder to the board.

Have a great day!
-Lisa



Monday, August 6

Did You Notice?


I took a summer hiatus.

First and foremost, I want to say thank you for still stopping by here! I am amazed at the amount of traffic this blog has had - even without activity on my end. I am hoping that the combination of school and baby napping will allow some regular posting.

 We have had a busier summer than I had anticipated. The funny part though, is that I can't really tell you exactly what consumed so much time - but in the blink of an eye, here we are, gearing up for school again. This upcoming school year is a big deal in our house. Miss Hannah will be in class five days a week - for the first time. I don't think I've mentioned this on the blog before, but our children are a part of a dual language program. The children spend half their day learning in English and the other half in Spanish. Prior to Austin starting the program, no one in our house spoke a word of Spanish. We (Chris and I) are learning slowly, however Austin, who will be entering second grade this year, can carry on simple conversations fluently. It's amazing! They will stay in this program until 8th grade and then they can choose to continue on into high school if they want. This year is the first time dual language is being offered to preschool children and 90% of the day is in Spanish - so it's going to be a big adjustment and I'm really hoping Hannah transitions well.

In an effort to prep for the upcoming busy mornings and evenings, as well as multiple piles of paperwork, artwork and projects, I have been organizing, baking and cooking like crazy. Some of which I am excited to share with all of you and will do so over the rest of this week.

Are you doing anything to get ready for the school year? Do you have any time saving tips or ideas to share? Please do!

Happy Monday!
Lisa