Tuesday, August 8

Smokey Hot Vegan Red Lentil Soup


This recipe for Smokey Hot Vegan Red Lentil Soup is so easy to make. It cooks up quick, tastes delicious and is kid approved.

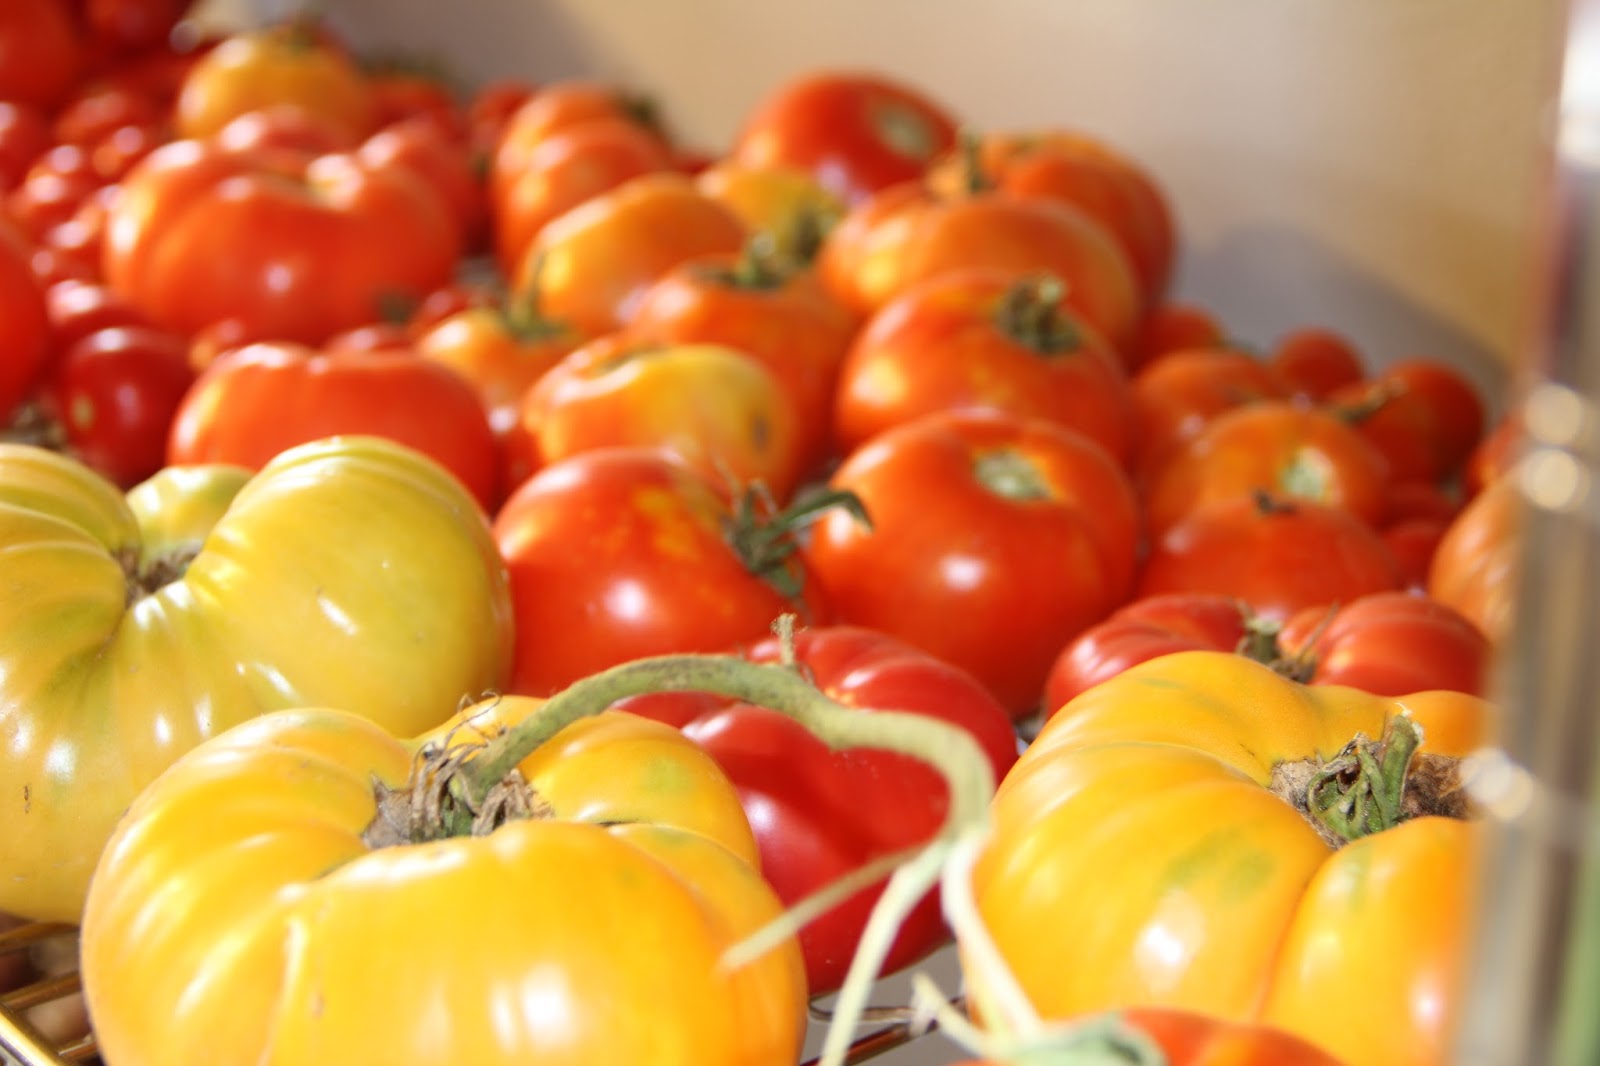
Our tomatoes are ripening almost faster than we can pick them. I should add, we planted 16 cherry tomato plants, and 34 other tomato plant varieties. Don't ask me what I was thinking. Really, I can't give you an answer, other than we started them from seed and I couldn't handle the idea of "wasting" one of our precious baby plants.

We gifted quite a few plants to friends and I've been busy canning salsa's and diced tomatoes like it's my job. I plan to give a few gallon sized bags of cherry tomatoes away, but I also want to use up and save as much as I can too.

This recipe is perfect for those of you who may have an over-abundance of cherry tomatoes coming in from the garden right now.

It's also perfect for those of you wanting a nutritious, filling plant-based meal option. We are not Vegans (though I was a strict vegan for a while in my past), however we do make plant based meals multiple times each week. It's incredibly healthy, sustainable and less expensive than a meat based meal.

Scroll down to make this easy, tasty vegan lentil dish.


Smokey Hot Vegan Red Lentil Soup

2 TBSP Avocado Oil
1 Large Red Onion Chopped
2 lbs Cherry Tomatoes Cut in Half
1.5 Cups Red Lentils
4 Cups Vegetable Stock
1 Tsp Smoked Paprika
1/4 Tsp Cayenne Pepper Flakes
Salt & Pepper to Taste
Fresh Basil (for garnish - optional)

1) In a large stockpot or skillet with a tall edge, sauté the chopped red onion until caramelized over medium/high heat.  Season with salt and pepper.

2) Reduce heat to medium and add the tomatoes. Let simmer for a bit until most of the juices have been released.

3) Add red lentils, smoked paprika and pepper flakes, followed by one cup of vegetable stock. Simmer until most of the liquid is absorbed and then add another cup of stock. Continue doing this until the lentils are soft and tender.

4) Serve hot and garnished with fresh basil if desired. We found the basil added depth to the dish and really was a great addition.

Wednesday, August 2

Right Now


Right now, the garden is producing a TON of food, and as a family, we have been busy preserving the bounty. You'll notice if you click on the label "right now" at the bottom of this post, I have been blogging about our "right now's" for quite some time. I think it's fun to go back and look at these, it brings me back to those moments, almost like a visual journal.

Here are a few photos from the last week or so around our little homestead...


The older two children like to spend time with me out in the garden, as well as the kitchen. They always have.

My youngest however, has declared she will never be a gardener, she doesn't have time for that. She's going to be a rock star. If I want to, I can bring her vegetables after her shows. Really, these were her exact words. She may still come around, but it will have to be on her own terms. I don't force the kids to garden or participate in anything homesteading related they don't willingly want to. That is, aside from age appropriate house chores, for fear they may end up resenting it down the road.


The carrots pictured above were washed, peeled, cut into sticks and put in a large bowl of water in the refrigerator. They stay fresh and crisp for an incredible amount of time this way. This works with chopped lettuce and pretty much any other greens as well. It also makes for quick, easy and healthy snacking for everyone in the house. I'm proud to say not a single carrot went to waste, and that bowl was huge.


There has been a bit of jam making, but not nearly as much as I would like. I'm going to get adventurous and try some unusual combinations this year. I'll be sure to share those when I do.


Here are links to the recipes for the jars you see pictured above...


** The pickle relish was made with a Mrs. Wages spice packet. **


My youngest won't help in the yard, but she's more than happy to help make things pretty label. We buy most of our grains and flours in bulk. My poor neighbor ended up with a 50lb bag of oats on his doorstep the other day and walked it over to us. I'm sure he thought we were crazy when I told him what it was.

Buying organic can get expensive, so to cut costs, we buy bulk when we can. This should last us all year. I store the gallon sized bags in our freezer to help preserve freshness. We do this with whole wheat flour as well.

Why is it so important to buy organic?

Commercial oats and wheat are heavily sprayed with pesticides prior to harvesting. Even though they are hulled and for the flour, milled, a large amount of pesticide residue is left on the grains. It's worth every extra penny to me, to know that when I feed my children (with their tiny bodies that can not handle as much pesticide residue as an adult), they are ingesting wholesome, clean and pesticide free food.


Not sure what to do with all those oats?


After we chopped up all the carrots, I gave some tops to the chickens and the rabbit. The only one interested in them was the dog. She scared off the chickens...


Then promptly turned her nose up at the carrots. These were cleaned up and the chickens went back to happily searching for bugs.


Sunday, July 23

Easiest Way to Find Tomato Hornworms


Want to know the easiest and fastest way to find every Tomato Hornworm in your garden? Read on...

If you have a garden and you grow tomatoes or peppers, chances are, you've encountered the hornworm. You probably also know just how frustrating these guys can be, devouring your whole plant in a matter of what feels like hours (it's probably longer than that, but with a little nibble here and a little nibble there, they will ruin the whole plant fairly quickly).

I refuse to use any sort of pesticide in our garden - to me that defeats the purpose of growing your own. So, aside from the Neem Oil mixture, I'm left hand picking these huge dudes off my tomatoes and peppers. Which would be fine, if I could actually see them. Truly, I don't know if I dislike them because of the damage they do, or because it's almost impossible to find them all. They have achieved an ultimate level of camouflage, that's for sure.

Until now that is.

Chris and I were talking about the garden one night after the kids were in bed and we were having a little pity party over our eaten up plants. I've been nursing these plants for six months now, they're like little babies. It's really hard to watch all your hard work get destroyed in a matter of days and not feel like you can do anything about it. All of a sudden his eyes lit up and he said "I think they glow! Let's buy a black light flashlight and try it out." I looked at him all dumbfounded and said "They make black light flashlights????"

Guess what? They do! They glow and yes, they make black light flashlights. You can buy one here.

Once it's dark out, just walk outside and shine your little flashlight over your plants. The hornworms pop out like neon. Seriously, it's like an 80's flashback garden party.


In the last 5 days, Chris and I have removed 23 hornworms using this method. We are finding them when they are super small right now too, which was impossible before.

Now go buy yourself a flashlight and go Hornworm hunting - you'll thank me later, trust me.

Friday, July 14

How to Get Rid of Japanese Beetles


** This is a super easy way to get rid of thousands of Japanese Beetles quickly and without having to spray pesticides. **


If you have any kind of fruit or berry bush, I'm sure you know exactly how frustrating Japanese Beetles are. They come in swarms and devour plants until there is nothing but a skeletal structure left. Last year I looked all over Pintrest for different recipes to protect our blackberries and fruit trees. I found one mixture that worked well, but had to be applied pretty much daily to keep these gross little pests away. I also happened to pull a bunch of ligaments in my foot trying to avoid a swarm of them after spaying. Wet grass and slick shoes don't mix my friends.

This year I wanted to try something easier, and a little less hands on with the bugs. Amazon is typically my first go to for products, and I was excited when I found these traps. I ordered two because we have quite a bit of space to cover.


I took this picture right after I hung the bag. I had beetles following me to the post from my front door - this thing works that great.


This was the following morning. I think it's worth noting I set the bag up around 8:30pm the night before. I'm convinced this bag was filled to the brim hours after installing it. Side note, I was gagging while taking this picture and fully utilizing my zoom option on my camera.


Seriously, look at that. It makes my skin crawl, which is problematic because just by looking at this photo, it's pretty clear I needed to either change the bag or come up with another idea.

I went with another idea...


I decided to try hanging a garbage bag over the shepherds hook that the bag was attached to. This worked, until an hour later the bag was so heavy that the drawstring was closing the opening at the top.

A few minutes of motivating self-talk and with the moral support of my older daughter, I was able to poke holes in the top of the bag and attach them to the frame of the trap so the drawstring couldn't close completely. I'm sure we looked crazy. The two of us kept getting close enough to get dive bombed by the bugs, only to yelp and run back to a safe distance. It took a bit, but we did it.


That's a lot of bugs.

These Japanese Beetle traps work really well, so much so, that I would suggest keeping them at least 100 or more feet away from the plants you want to protect. The directions say 30 feet is enough, but I would argue that. To see the exact bags I used, click here.


Here's one of our bell pepper plants. I couldn't bring myself to end a post on a garbage bag full of bugs. A garbage bag I need to go empty at that. Wish me luck...

Wednesday, July 12

Easy Beet Hummus Recipe


** Make this easy beet hummus in just a few minutes - it's so good! **

 It's safe to say I'm the only person in my house who LOVES beets.

My kids could take them or leave them, and my husband won't go near them. That being said, I try not to go crazy planting them. I only have a few left to pull  (more seeds will go in the ground in a couple weeks for a Fall harvest) and this afternoon I realized I hadn't made my favorite beet hummus this summer. The coolest thing about hummus, aside from being delicious, is that you can freeze it. I didn't know that until last year. So now I can make a huge batch of this and freeze portions to enjoy during the winter. This recipe is super simple, all you need is a food processor or high powered blender. I used my Vitamix for this.

**Scroll down for the detailed recipe**


Here's everything you need. I'm a visual person and enjoy seeing process photos, so incase you are too, here you go.


See, I even put everything in a bowl and arranged it to look nice, just for you. Normally I would just toss everything in the blender and go.


My very trepidacious taste tester and hand model.


The fact that she ate this, knowing it had beets in it, and went in for a double-dip makes this a mom win for me. Remember, no one else in my house likes beets...


Here's the best part - you can freeze it! I line a cookie sheet with either this slipat or parchment paper, plop a large spoonful of hummus on it and then put it in the freezer. A couple hours later, just pick them up and put them in a freezer baggie. It's all portioned out, so it won't go to waste if no one else in your house likes beets either. It thaws perfectly in the refrigerator.


Beet Hummus Recipe

3 Cups Garbanzo Beans (or 2 cans)
2 Cloves of Garlic minced
3 Roasted and Cubed Beets
3 TBSP Olive Oil
1/4 C Lemon Juice (about 2 lemons)
1/4 C Toasted Sesame Seeds (or 2 Tbsp Tahini)
3/4 Tsp Cumin
1/2 Tsp Salt
1/4 Tsp Red Pepper Flakes
1/4-1/2 C Warm Water


1) Toss everything in the blender or food processor and pulse until the hummus has a semi-smooth consistency.

2) Slowly pour in the warm water while blending/processing until it is super smooth.

That's it!