Showing posts with label Creative Living. Show all posts

Wednesday, January 30

The Calming Art Effect

 
 Every once in a while, we have one of those crazy, harried mornings. You know the ones where your youngest decides 4am is the perfect rising time for the day, and once the other children get up, no one knows where anything is, or what they deem tolerable to eat for breakfast. Goodness, throw shoes, jackets, hats, gloves and snow pants into the mix and it's a full-blown morning nightmare.
 
These are the mornings that I decide the gym can wait. The to-do list can wait. In fact, any plans at accomplishing anything other than drinking a hot cup of coffee in peace can wait.
 
When we get home from dropping my oldest off at school, I set up the table easel and let my daughter go to town with a stack of paper in any way she chooses.
 
These mornings, more often than not, turn into the greatest days.
 
I truly believe allowing some creative outlet during high-stress moments offer the best calming effect around.


While my older daughter creates, my youngest either snacks and watches, or joins in the fun with her crayon rocks. 


And this child waits for food to drop... eh hem...
 
 
The entire time, the children are engaged in creativity. I get to sit and enjoy a HOT cup of coffee - a commodity around here. But the greatest part, is that while creating, they open up and talk to me. Some of our best conversations have occurred before the sun rises, painting and drawing at the kitchen table on mornings like this.

Tuesday, October 16

Easy Halloween Decor for the Front Door


Up until a few months ago, I had never been a huge decorating fan. Of anything really, the house, holidays, birthdays. I have always opted for the "less is more" mentality. I still follow that mantra, but I have been finding myself really enjoying adding a few touches here and there. It seems like just changing up one or two things in an area can really do a lot to transform the look and feel of the space.
 
This is still new to me, so I have been focusing a lot of my attention on the first impression spot of the house - in other words, the front door and entryway.


I started with a Halloween wreath I made last year. I found a base wreath on clearance for a few dollars and spray painted it black using what was left from another project. I added a few non-painted twigs that were in our backyard for contrast and attached fake cobwebs and spider rings. Easy-peasy and cute to boot (couldn't help myself there, sorry!)


I covered our front entry table with gauzy Halloween material I found. That alone made a big impact. Then I dug around our itty-bitty Halloween decor stash (I think it consists of 8 things). I typically buy my holiday decor a year ahead, right after the holiday itself when items are at a deep discount. The only thing I had to buy on the table above was an emergency candle for $1.50 (looks the same as the nicer pillar candles if you ask me). I cut out a quick vinyl spider and web and attached those.


Last year, I remember seeing a lot of cut out bats that bloggers had attached to their walls or outside of their homes. Since I just so happen to have an awesome new die cutting machine, I jumped right on that band wagon and cut out a bunch of different sized bats.


The bats were attached using Zots (or snot dots as we used to call them in design school). If you decide to try this yourself, make sure to buy the removable Zots - most are permanent and I don't think it's worth having globs of adhesive all over your walls or siding, no matter how cute these little guys are. You can gently crease the wings to make them look like they are flying.
 
 I love these bats. I keep finding myself looking at our front door and smiling - because I'm a nerd like that.
 
Have a great day!
-Lisa

Wednesday, October 3

Creating Space


Creating office spaces in closets has been showing up all over pinterest and on blogs like mad lately. Naturally, I ran to my closet to see if it could be done. We have a good size walk-in closet - but it had been neglected and was a mess of clothing piles, jammed shelving and quite honestly, boxes filled with unknown treasures ;) I'm a little embarrassed to admit this so openly, which is why I am sparring you a before shot of this project.
 
I spent an entire afternoon emptying the closest, dividing it fairly between Chris and myself, getting rid of what we didn't need, use or want, and organizing what was left. Doing that freed up an entire wall in my closet.
 
Then I happened across a handmade crafting desk on craigslist for only $20! The dimensions were perfect for our space - it almost seemed to good to be true.


This is a super heavy piece. It was built out of cabinetry and has a heavy duty laminate counter top. While we were trying to move it into the van, the leg caught and splintered so bad it had to be removed. Thankfully Chris is a great problem solver. He drilled a small 2x4 to the wall to act as a supporting shelf for the counter top. It's sturdy as can be and now has extra leg space below.


 The insides of the drawers on this desk were a little less than desirable. Even after a lot of washing and sanitizing, this is what I had to work with.
 
 
Sooooo, with a little decorative wrapping paper, some spray adhesive and an exacto knife, I made some custom drawer liners.


I love the way this turned out! I have had the paper in for a couple of months now and so far it is holding up wonderfully.
 
The original plan for this space was to house our computer, but in order to do that, we need to install an outlet. In the mean time, I've been using it as a crafting table. To be honest, I might just end up keeping it as that. Or it could even turn into a vanity if I were to add a mirror... Not sure yet, but I am sure that I love the extra space that was created with this project.
 
Have a great day!
-Lisa


Wednesday, January 4

The Coloring Drawer


During part of my pre-holiday organizing craze (which ended almost as quickly as it started - but I'm back at it again now that the holidays are over), I emptied out a few drawers in my kitchen. I chose three that seemed the least daunting. One of those three had been stocked with papers and coloring books for the kids. It was a mess, with crumpled half colored pages, random marker magic sheets (which, by the way, have no business in our house - those things make a monstrous mess when combined with my three year old), and broken crayons. I had colored pencils, crayons and markers tucked away in various other areas of my kitchen. I think my logic behind that was to have something on hand to keep the kids busy while I made dinner or lunch.

It made no sense to have all these items in different places, not to mention the kids couldn't reach any of it on their own.

My solution? Put everything in a drawer that every family member can reach, and have a designated place for each item within. I made sure that the art supplies available could easily be cleaned up in case someone's creative side took a wild streak.

I didn't spend a dime on this project, and just used mason jars I had on hand to corral the different supplies. Almost daily, Hannah will help herself to a coloring book and jar of crayon rocks or colored pencils. When its time to clean up, I just tell her to put all the items back in their home. I never had to elaborate on that, she just automatically knew what to do.

That was definitely an "ah-ha" moment for me. Imagine if I could do that in all the spaces the kids use. No more nagging. Or constantly picking up the toy trail little ones like to leave in their wake.

So that is the game plan for now. Wish me luck, I'll need it!

Monday, January 2

Project 365

1/365

2/365

3/365


Happy New Year Everyone! I just want to start off by saying thank you to everyone who reads this blog. It keeps growing and growing, and I know that would never happen without all of you, so thank you :)

I hope everyone had a safe and fun New Years! I can't believe how fast 2011 went by. It was a great year over here, and to top it off, our family grew. I have high hopes for 2012.

My biggest ideal goal for this year is to try and slow down a little. I really don't foresee that happening though, so I at least want to be able to remember what I did each day. Sadly, I can't seem to remember what I did last week, let alone a few days ago. That's where project 365 comes in. Some of you may already be familiar with it - I only heard about it six months ago. So, for those of you with a bit more know how than myself, please excuse any amature information I may share :)

Basically, the project has you take a photo each day and share it. Though the idea of taking on such a huge task, with an already over-scheduled life, left me uneasy to say the least, I think the benefits of it by far outweigh my hesitations. For one, I'll be able to look back and see a portion of each day, and visually catalog the full year with my family. Second, this will help develop my photography skills (I'm saying this as if I have any already - eh em...). The hubs and I gave each other a DSLR for Christmas this year - now it's time to learn how to use it. Third, when everything is said and done, I want to be able to print out a small book for our family of the whole year.

For now, my plan is to post seven photos every Monday, and call it "My Week in Photos". Each one representing one day. I would love to have you follow along and if you want to do the same, leave a link in the comments section to your blog or photos.

I intend to make a few changes on the blog this year too. For starters, I am going to share more organizing posts. I couldn't believe how popular this one was! Thank you for all the "pins"! I also plan on sharing at least one kid craft each week. That is what started this blog, and I realize I've ventured away from it. I will be putting up a Kid Craft tab for easy access to past projects, and what better time to do that than winter.

Want to share your week in photos?


Leave a link in the comments! I would love to see them!

Monday, December 12

Quick Frame Repurpose

I get bored easily, so I'm always looking for new ways to arrange areas in my house. I don't want to go out and spend money regularly doing this either. So, I browse pinterest for inspiration (feel free to follow me using the button at the top right of the page, and take a mental note of what we already have on hand.

That's how we ended up with this cute little tray. I love the tray idea, and like the look of it, however I'm not sold on it's placement just yet. I couldn't resist sharing this with you now though. It's so simple! Just take a decorative frame that you're not currently using, place a pretty piece of scrapbook paper in it, and remove the stand from the back.

Ta-dah! Instant pretty tray to corral little odds and ends around your house. And, because it takes a whole five minutes start to finish, if you don't like the look, just put the frame back where you found it.

I hope you all had a great weekend! Please be sure to check back this week, I will be hosting my very first Giveaway! I'm so excited about it, and can't wait to share!

Take care!
Lisa

Thursday, October 20

Upcycled sheets & Knitting

There are so many things an ordinary sheet can be transformed into. I thought I had seen them all, until I happened across this tutorial on pintrist. Speaking of pintrist, have you been there?? I love it! I have found so many new creative projects to try and recipes for the family. Not to mention house decorating ideas - and I need a lot of help in that department. Check it out, you won't be disappointed.

It's hard to believe this cute, soft and squishy little rug used to be a fitted bed sheet and two pillow cases. I just ripped the sheet into strips (the process is explained in the tute), and knit everything together. I used a seed stitch, and just knit until I ran out of fabric.

I got so excited with this project, because really, if I can knit a rug from a bed sheet, well then I think I could knit just about anything pliable. My husband was a little concerned about my level of enthusiasm with this one.

Another nice advantage to this rug is that as soon as it gets dirty, I can just toss it into the washer without having to worry about the weight of it throwing the balance of my machine off. That was an issue with our old rug.

And who doesn't love walking on soft pillowy cotton??


Thursday, April 21

Playsilk Grass

Playsilks, love them. So do my kids. To be honest, when I first heard about them, I thought they were kind of silly. And I really didn't think my kids would actually play with them much. Boy was I wrong. They're just large dyed silk scarves - well, to an adult anyway. To a child, they can become blankets, rivers, capes, magic shields, princess veils, ghosts.... The list goes on and on, and only stops when the creative play does too.

They are also great for covering toy baskets and bins at night, my children seem to sleep better when most of their toys are out of sight (sound silly? Try it, stream line your bedroom to just the essentials, or hide things, I swear, you get a better nights rest).

So, all of that being said, this year we are replacing Easter grass with playsilks. I dyed a few with packets of kool-aid that I picked up especially for this project, but you can also use food coloring, or natural dyes. We are going to dye Easter eggs tonight with food, so I'm going to add a few silks to the pots and see how it turns out - I'll share my findings, don't worry.

Here's how to do it...

You need:

Large pots or stainless steel or enamel bowls (plastic will stain)
White Vinegar
Coloring of choice (kool-aid, or food coloring...)
Kitchen tongs or other similar non-porous kitchen tool
White silk scarves (I bought mine here and purchased 30"x30" Habotai)

1) Put white scarves in a mixture of 3 cups hot water and 1 cup vinegar to soak while mixing your color pot.

2) Mix packet of kool-aid (1 for a pastel effect, up to 3 for bright vivid colors), 2 cups vinegar, and 3 cups hot water. Stir to dissolve.

3) Add the scarf and mix around until fully colored. Use kitchen tongs or some sort of utensil for this, the colored water will stain your hands.

4) Once you have the color you want, rinse the scarf under luke warm water until the water runs clear. Squeeze excess water out and hang to dry.

That's it!

Tuesday, January 25

Painting Wet on Wet Part 2

About a week or so ago, I shared this photo of my first attempt at wet on wet watercolor painting. I wanted to experiment with it a bit before introducing it to my children. We all sat down the other night and gave it a go. The kids loved it! And I loved that while they were painting, they were creating little stories and characters out of the images that were being created. This is more abstract, and because the paper and paint are both very wet, it's near impossible to make "perfect" pictures, which can be great for the little artist who is not so sure of themselves. You could almost compare this to finding images in clouds.

What you need:
Watercolors (the kind in tubes that you mix with water)
Watercolor paper (this is a must because you wet the paper and it needs to be sturdy enough to still paint on)
Small cups (for paint dishes, and a water dish)
A sponge or dish towel
Paint brushes (bigger fanned brushes work best, but any will do)
Faucet
Plates (not paper - you'll see why in a moment)
Small towels for blotting brushes

I started with only two colors for each child so they wouldn't end up with a large brown smudgy picture.
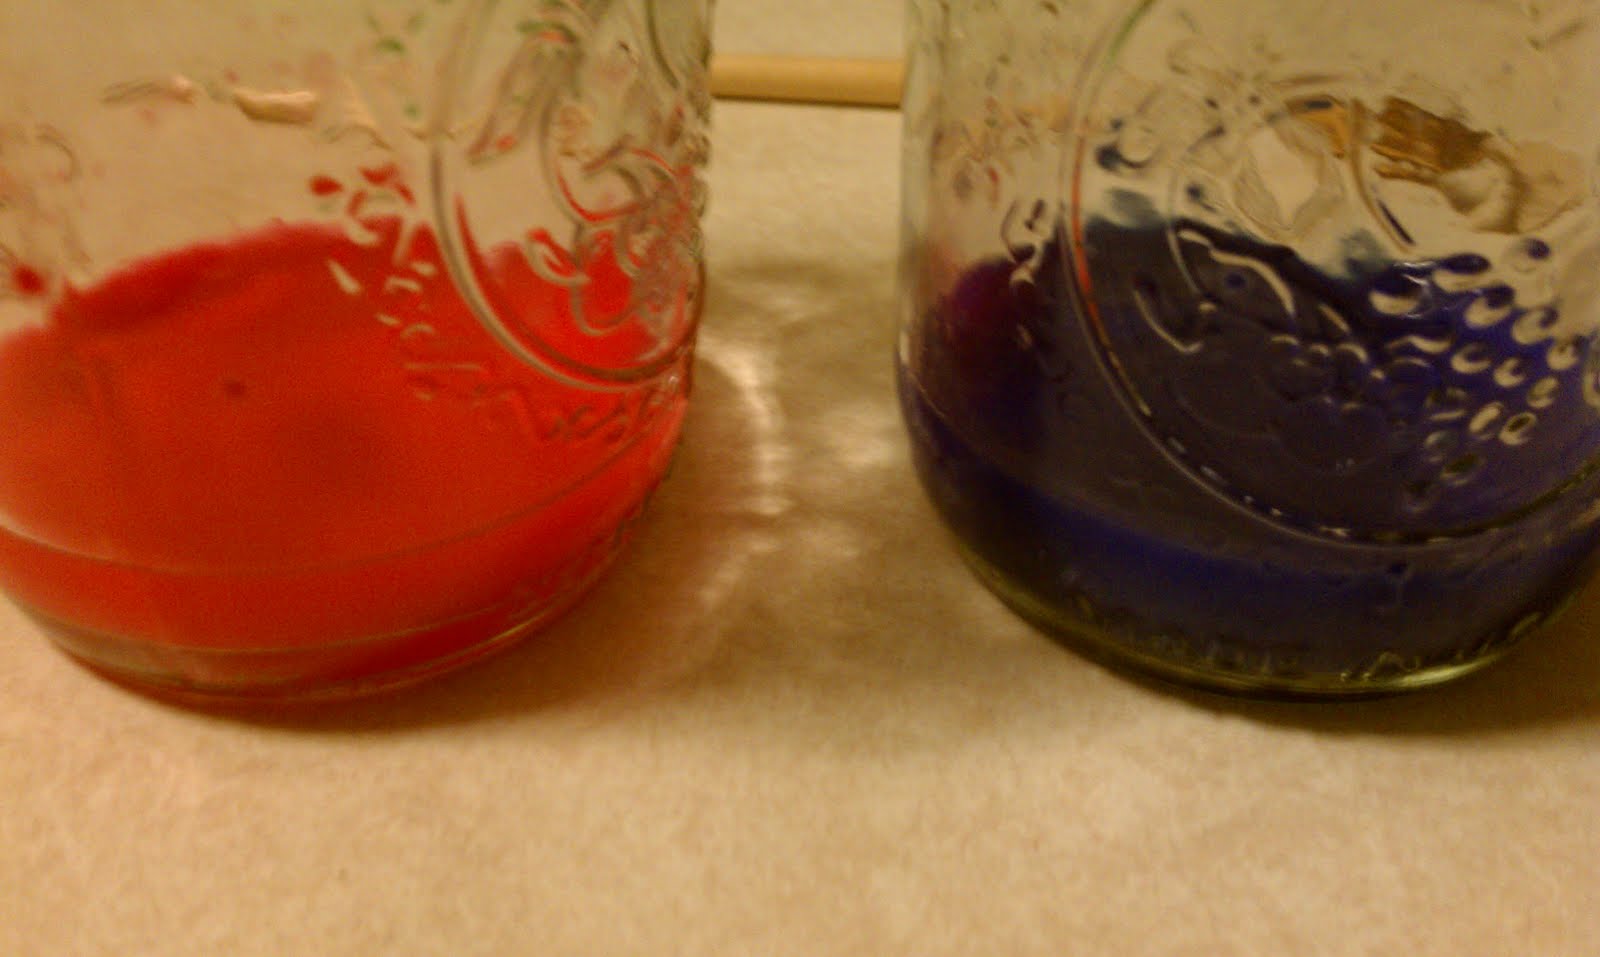

To avoid major spills, or flying paint (you never know!), I only gave them each as much paint as I thought they would use up. The amount in the pictures was actually still too much, but we didn't encounter any huge issues, so it was okay. I also cut each water color paper sheet into fourths. My children are smaller, so I think that works better for them, and it also made each page small enough to fit on a ceramic plate for the painting process (again, avoiding a huge potential mess).

Instead of dunking the paper in a bin of water, I just ran it under the faucet, and made sure every part was wet. Then I very lightly sponged off the excess water, put it on a plate and handed it over to the kids.


My daughter took to it right away, and ended up having a mini-meltdown when we ran out of paper for her. My son took a few minutes to get comfortable with the idea that he couldn't create solid lines and "perfect" pictures, but once he got over that, he had a great time. Both are still incredibly proud of their work, and so am I... The photos below really don't do them much justice.


Have a great day!
-Lisa


Tuesday, January 11

One Small Change - Dec. Update


It just dawned on me that I never gave an update on our small change from December. I made a post about my lofty goals for this year - but didn't really narrow it down to a specific monthly one. So I guess that's my goal for Janruary, find a smaller do-able goal for Februray. I should also mention that I think I jumped the gun on the other blog's theme, and overlooked the fact that they seem to be more focused on enviornmental changes - I'm more focused on our family right now, so I think I'll just do my own thing.

And so, if you don't remember my December change, you can read about it here. We have been successfully reading more everyday. I did however ditch the whole "sit in a special chair" idea - it's just too formal for my family. Besides, a lap is so much cozier than the floor, don't you think?

I have baskets in most of the rooms in the house that are filled with books, and I'm so pleased that the books are actually being used. A lot.

I wish I would have thought to do this sooner. I can't tell you how many times a day I feel a little tug on my shirt, or hear "can we read this?"

Unless I have a pot of something ready to boil over, or the dog needs to go out, I never say no.

Take Care!
-Lisa

Wednesday, January 5

Artwork tags


I have been experimenting with a technique of using watercolor's on wet paper, also called painting "wet on wet". I wanted to get the hang of it before introducing it to my children. So here's a few photos of my little art time to myself. It's really fun and easy to do. When I sit down with my children to do this, I will share the process and more photos.

I cut up the painted paper and folded the pieces into gift tags and I think they came out pretty well.

Take care!
-Lisa

Tuesday, December 14

Lessons Learned from Dough

There is a lot to learn by the simple act of making, shaping and cooking dough. Especially for little hands and the minds that move them.

Think about the last time you made something from scratch. How did you feel when you were done (assuming it turned out ok)? Satisfied I'm sure just came to mind, or something close to that.

Imagine the impression that would have on a small child.

I know for me at least, that as a parent, I often find myself finishing tasks (or perhaps just doing the whole thing) for my children, assuming it will get done faster and without a mess my way. It dawned on me the other day, that by doing this, I'm pretty much telling my children that they are not capable of completing these tasks on their own. When truly, if given enough time, and the space to make mistakes, they most certainly could do that task in question, and probably a lot more.

Which leads me to dough. Yes, dough.

Making dough is great for all ages, and offers plenty of room for learning at various stages in childhood. Think about it. Measuring out the ingredients will provide simple math and space lessons for preschool kindergarten aged children. For older children, you could have them convert the amounts to double, triple or half the amount to work on multiplication or division. Simple pouring and stirring are great hand eye coordination developers in little children. Kneading and working the dough into it's desired form helps to fine tune small motor skills - something a lot of children seem to be falling behind in during recent years.

The best part, in my mind, is the sense of satisfying accomplishment and the confidence boost your child will likely get from doing this. Knowing they can take a few simple ingredients, mix them together and then create a satisfying snack for themselves is empowering for a small child.

We make soft pretzels. I chose this because it's a simple dough recipe, and only takes about 10 minutes in the oven (but does still require time for the dough to rise - so keep this in mind if you choose to try it. Allow about an hour for rising).

My children loved doing this so much that they have not stopped asking about it, and I have promised to make it a Saturday morning ritual. I'd love to do it daily if we could, but right now that just won't work with our days.

Below is our recipe if you want to try it out. I swear these are soooo good - almost better than that famous pretzel house in the mall ;)

Soft Pretzels

4 tsp yeast
1 Tbsp Molasses
1 & 1/4 Cups Warm Water - should not feel hot or cold when placed on your wrist
1/4 C Honey
4-5 Cups Unbleached White Flour
1.5 tsp salt
1 Tbsp oil


1/4 C Baking Soda
3 Cups Hot water

Sea Salt for topping (optional)


1) Dissolve yeast in water and molasses then add the honey and stir well to combine. Let sit for 10 minutes or until it looks frothy.
2) Mix the salt in with the first cup of flour. With a wooden spoon stir in 1 cup of flour at a time until the dough can not handle anymore. This will vary almost every time you bake, so always take the time to do this step.

3) Once you can no longer stir the dough with a spoon, either place it in a stand mixer with a bread hook to knead the dough, or knead by hand - and continue adding a little bit of flour at a time until the dough is no longer sticky, but is still moist enough to hold a solid ball shape.

4) Pour 1 tbsp of oil into a large bowl, and place the dough ball on top of the oil. Flip the dough over a few times to make sure it is coated in the oil. Place a towel over the top of the bowl and put in a warm spot until the dough has risen to twice the original size (this can take anywhere from 30 minutes to an hour or more depending on how warm your dough is kept).

5) Pre-heat oven to 450 degrees.

6) Pull apart small sections of the dough and shape however you like.

7) Once all the shapes have been made, make the baking soda and hot water mixture. Dunk each shape in and then place on a parchment lined baking sheet. Sprinkle with salt if desired.

8) Bake for about 10 minutes or until golden brown.

Enjoy!
-Lisa :)


Thursday, December 9

Keep Little Hands Busy

I'll be back to regular blogging tomorrow, but in the mean time, I wanted to share this link with you. I stumbled upon it the other day, and I'm so thrilled that I did! It's such a simple, yet creative idea - I love it!

They are play discs, over at Made by Joel. I won't use images from other blogs - so I really do encourage you to stop over there and try these out. They are beautiful in design and construction. All you have to do is print the free templates and then cut out the discs. They fit in a candy tin, and can travel easily in a purse or pocket. The little discs provide lots of entertainment for little ones (think restaurant here).

Take care!
-Lisa

Tuesday, December 7

Pastels


I decided to introduce Hannah to pastel's last week, and wow did she take to them! I like to give my children an opportunity to explore different art mediums without an agenda or project to complete - at least at first. This allows them to have a more relaxing and enjoyable experience - no stress, no expectations.

She's been asking to use these on a daily basis since then.

Pastel's are great when used on a slightly textured paper (we used newsprint - super inexpensive and available at most arts/craft stores, and VERY large). The colors are vibrant, and easily blended and smudged together.

If you want to keep a semi-clean toddler while doing this, give them a play shirt and have a damp towel on hand.
Take Care!
-Lisa

Thursday, December 2

A Place of My Own


After months and months of clearing off the kitchen table, lugging out my machine and thread and fabric and goodness knows what else, each and every time I wanted to sew, I have finally created a space all my own.

A space that allows me to keep everything exactly where it needs to be at all times.

I don't think I'll venture as far as calling it my own studio space (ok, well, maybe in my mind I will), but it is a space, just for me and the things I do.

And oh my goodness am I excited about it! Seriously, I can't even begin to describe my excitement. It is so much easier to get projects done. If you have your own space, you know what I'm talking about. If you don't, try and make room for one.

Mine is not glamorous by any means, in fact, it's far from it, lol. I have sectioned off a very small portion of our unfinished basement. I placed a fold out banquet table there, accompanied by, of course, a folding chair, lol, and an odd shape of remnant carpet underneath. I was able to organize our wire rack pantry to accommodate my fabric stash, and ta-da! Instant working space.

I refuse to show you anything but close up pictures right now, because really, it's just a basement, and not all that pretty. I'm just so excited about it (and my new serger! - you can tell I haven't used it yet from the photo, lol), I couldn't wait any longer. I've been using this space for about 3 weeks now, and I'm getting so much more done. I'm pretty happy, in case you couldn't tell :)
Have a great day!
-Lisa :)


Tuesday, November 23

The Center Piece

Over the weekend, I had the kids pick out objects from outside that they would like to put together as a center piece for Thanksgiving dinner. The photo above is what they chose (and I snuck a few gourds in the mix for color). They are excited to be playing a part in the preparation of the day, and had a wonderful time exploring nature in the process. If you've never done something like this, give it a try. It's a calming experience for everyone - as long as you don't try to dictate what they pick. You might even come across a few new discoveries for yourself along the way.

Here's a few more photos from that day...


Have a wonderful day!
- Lisa