Showing posts with label Sewing. Show all posts

Friday, December 9

Archive Friday - Alternative Wrapping

***This is a post from the archives, but I felt it was worth reposting. Have a great weekend!***


Did you know, that during the holiday season, in the US, "trash production increases by up to 25 percent, most coming from wrapping paper, boxes and shopping bags"? That statistic was taken from the Moscow Recycling Food Co-op Newsletter.

I vowed this year that our family would be different. But how? About a month or so ago, I started brainstorming different ways to wrap holiday gifts that would be both presentable yet earth friendly. I came up with a lot of ideas, but most of them were shut down by my husband (I have to give him credit, he pretty much lets me go all out on whatever I'm doing and never says a word - so because of that, I didn't protest too much). Some of the ideas he didn't want to go along with: wrapping them in fabric from my stash - um, ok, I get that. Wrapping them in old black and white newspaper and tied with pretty fabric ribbon - he thinks people will assume we're destitute, not to mention the mess it would likely make on our cream colored carpeting - ok, I'll give him that one too.


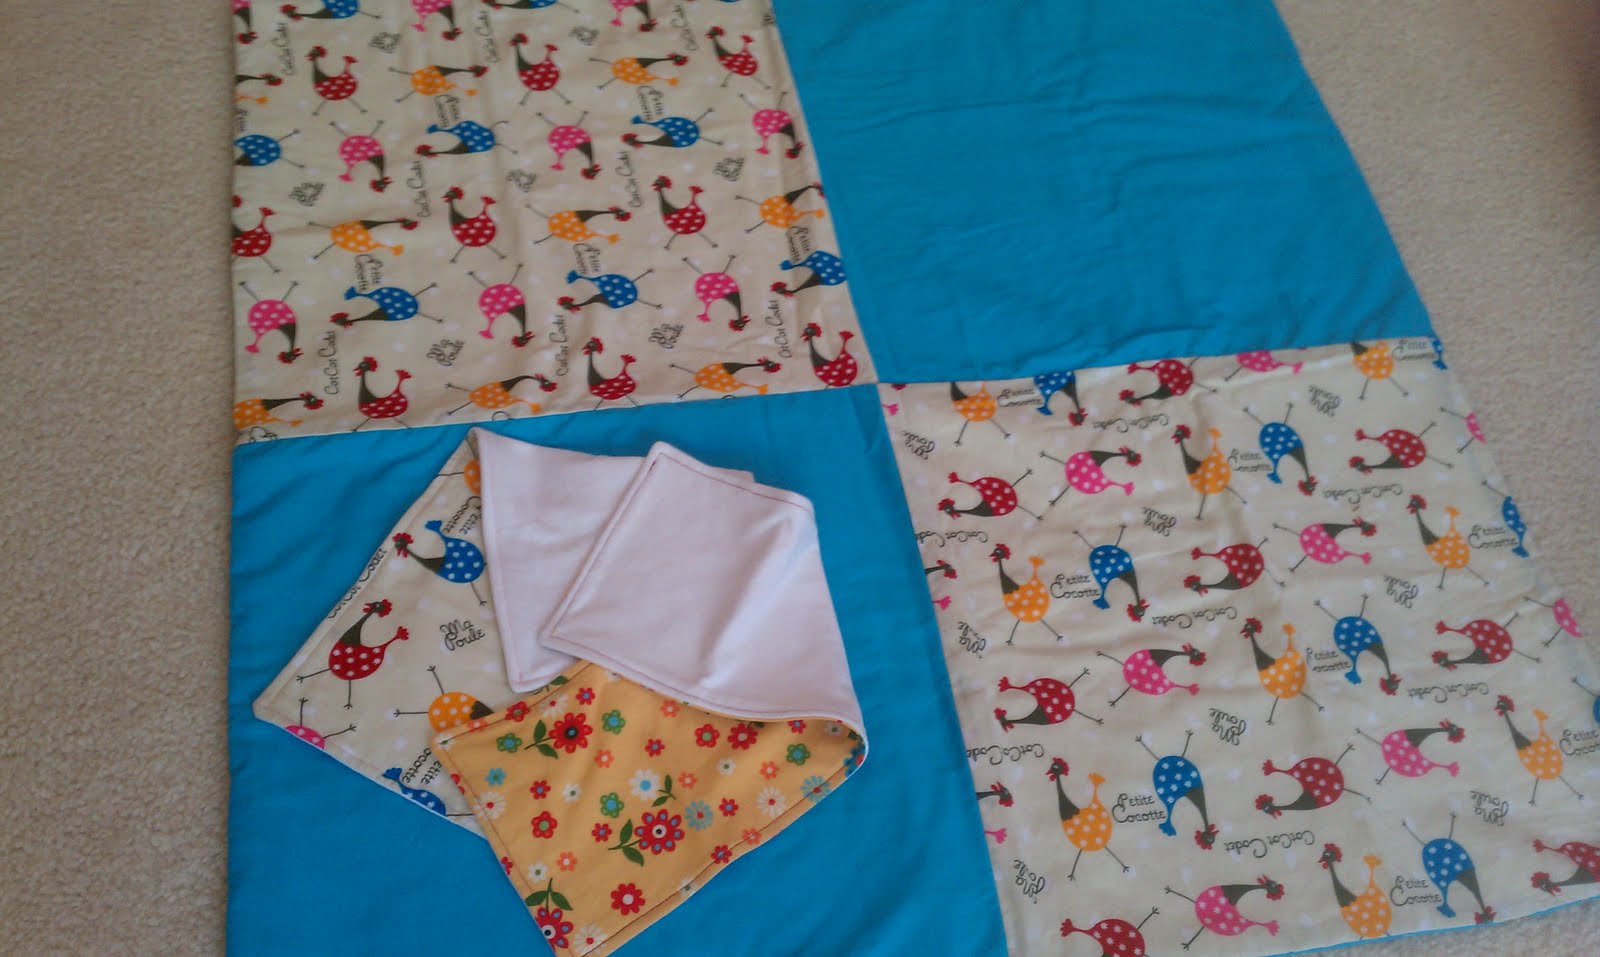
Sooo... I decided to make drawstring bags. Lots and lots of drawstring bags. So many, that I'm starting to wonder if they will last me till next year too. I used fabric from Granny Grace, so it's about as thrifty as you can get. I'm hoping that they will be re-used for some other purpose by the recipient. You can always find a use for a cute bag, right?

To see a tutorial on how to make drawstring bags, click here. I did mine a little different so they had a flat bottom. It's pretty much just smaller versions of the toy hammock tutorial on my blog.


How are you wrapping your gifts this year?


- Lisa

Friday, July 15

Crafting, Baby Things and an Update

First off, hello! It's been a while. We have been busy working over here on a number of projects around the house. The biggest being the "room switch", which involved painting, new furniture, lots of lifting, lots of selling things that won't be used, and of course, crafting. We decided to work while the kids slept, so we had a lot of late nights as well.

I was able to sneak in a couple baby projects along the way too. The photo above has a quick and easy playmat sewn from leftover fabric in my stash, and an odd piece of new organic batting I found at a thrift store for $0.50. The directions to make it can be found here. I still need to quilt it - I've been putting that off because I really have no clue what I'm doing in that department. I also made some matching burp cloths out of more fabric scraps and one of Chris's old T-Shirts. They are in the photo too, on the left. I love them! They are big enough to actually do what they were intended for (unlike so many others I had for my other children - I always just used their receiving blankets for that), oh, and they are just soooo soft. Each one took about 15 minutes to make, love it! You can find simple directions for them here.


Thankfully, we were able to finish all of the painting a day, yes, one day, before we lost power. The power was out for four days, and unfortunately there are still so many local residents without power. It's most definitely not the end of the world, but after a few days, it can get very frustrating. I was proud of my children though, they handled it like an adventure, and had a pretty good time. It was amazing how much time we had on our hands too - it really made me realize how much I take for granted with modern conveniences. And don't you worry, there was plenty of candle light knitting taking place - can't stop that, hehe....


I had a mental checklist of things I wanted to pick up for the girls' room and play area before the baby came, and to my delight, I found almost the entire list at ONE garage sale. I hadn't even planned on going garage sale shopping for these things, but just happened to stop by one on a whim. And I'm so glad I did! First, this table and chair set. The whole thing was $4. It did look pretty beat up when I bought it though. It was colored on, scratched, dirty and had about 100 stickers on it. But, after a quick wash down, some Goo Gone, and two layers of paint (yes, it's the same paint we used on the walls), it looks like new. Hannah loves it and can't wait to have tea parties with her baby sister. I don't have the heart to tell her it may take a while for that.


She added this cute pink linen table runner to it, and I think she did well.

At that same sale, I found a child's wooden rocking chair. It's white, but looks like mine, and my little girl just loves my chair but has trouble getting in. Now she has her own to rock her babies to sleep. And last, but not least, my favorite find that day - a handmade, wooden complete kitchen. When I say complete, I mean it came with a refrigerator that's huge, a separate sink with a food prep area, and a separate oven. Three pieces all together, all handmade out of wood, with moving fixtures and hinges. All of this for $20! Yup, that's it. I think it might just be my best find ever. I can't decide if I want to repaint it or not, and I want to add a few girly touches to spruce it up, and then I will share photos.

I hope you all are doing well!

I will be back here again soon,

Lisa :)


Thursday, June 2

Scrappy Summer Pillows


I'm so excited to share these scrappy pillows with you today! Granny Grace generously gave me some beautiful Henry Alexander fabric a few weeks ago. I can't even begin to tell you how excited I was, especially because I had been eyeing some of this exact fabric for a while, going back and forth as to purchasing it (glad I didn't).

Then came the dilemma of what to actually make with the fabric. At first I wanted to make a sundress for the baby, she will be a late-summer babe after all, but it seemed a shame to make something that will only be used for a few weeks. Which led me to the decision to make both. I had almost a full yard of the bright lemon print, and that's plenty for the dress and the pillow.

I followed the scrappy pillow pattern in the book Sewing Bits & Pieces: 35 projects using fabric scraps, by Sandi Henderson. I love this book, and would recommend it to anyone not wanting to waste all the little bits and pieces of fabric from bigger projects. I've made a few of here projects from the book already, and everything turns out so cute.

Again, these don't really match the room, but I don't really care. They add the perfect bright touch that I've been needing in our house lately.


Take care!

Lisa

Wednesday, May 25

Handmade Nursing Pillow


The amount of items on my "can't do without" list when it comes to babies is not very large. In fact, after raising my first, I was shocked at how little a baby really needs as far as material things go. Something that I most definitely used on a daily basis for both of my children was a nursing pillow.

My first two shared the same one, but my youngest still uses it. She sleeps with it at night, and actually stays asleep. I couldn't possibly ask her to give it up for the new baby, but I really didn't want to spend money on a new one either.

So, naturally, I decided to make my own. It was sooo easy - almost too easy. Of course, it was easier because I had one to measure from. I do think it would be pretty simple to draft your own pattern for this, as long as you know the shape and size that you want.

To make my pattern template, I just put the old pillow on a large sheet of freezer paper and traced it by holding a pencil between my thumb and index finger. I used my first three fingers to provide a consistent width while tracing (my pinkie was in the air, while the outside of my ring finger followed the shape of the pillow).

I used a pretty thick fabric - think upholstery fabric for the actual pillow. I'm not worried about the drab color because I plan on making a bunch of covers for the pillow out of flannel and cotton, using the same pattern template (I'll post more on that once I can find fabric I love). The fabric I used was actually from a thrift store and it only set me back about a dollar.

I used a half inch seam allowance, and left a four inch opening at the top for the stuffing. These have to be stuffed pretty full in order supply decent support for you and the baby. I already had a 5lb bag , and used maybe a little over a quarter of that to fill it. Just stuff it tight and push down on it as you go along to get a good feel for how thick you want it. Once it was filled, I closed up the seam by sewing along the outside (it's not the most attractive finish, but will be sturdy and the pillow will have covers on it anyway) like the store bought version had.

So, all in all, the project cost me about $4 and took about 20 minutes start to finish. Can't beat that!

Thursday, May 19

Going Cloth - Diapers That Is

After not too much debating, Chris and I decided to cloth diaper this next baby of ours. Between the cost savings, garbage reduction (which we pay for the removal of), and lack of chemicals on the babes bum, it was kind of hard to not at least give it a try. I had thought about it a lot when I was pregnant with Hannah. The overwhelming amount of information left me too scared and intimidated to give it a go. Thankfully, this time when I started my research, it was a little bit easier. The big difference this time was finding an online community of cloth diapering momma's to take my hand and walk me threw the process.

Once we finally made a decision to do it, it seemed silly to keep spending money on disposables. So, for the last three weeks, Hannah has been in cloth. With the exception of one slightly crazy, eh 'hem - gross, experience (I'll spare you the details - just use your imagination) it's been great.


Even though the diapers I bought are one size fits all, they will most likely be too big for the baby for the first few weeks. So I decided to make a few of my own from materials we had around the house. I obviously have no way of knowing if they will work well until the baby comes, but they are just too darn cute to not share. You can find a ton of diaper tutorials all over the web, and the materials you choose are a personal preference. I didn't want synthetics on my newborn's bottom, so I used flannel and cotton for these. Based on the recommendations of some more experienced momma's, I followed this free pattern and tutorial.


I love this one! It's amazing how small it is too. I forget how tiny baby's are in the beginning.


Take care and have a great day!

Lisa


Wednesday, January 12

Making Progress


A little boy in this house will be turning six in a few weeks. Six! I can't believe it. I'm making him a couple gifts, and knowing how I have a tendency to procrastinate, I have decided to start now. He likes making paper crowns, so I figured, why not make a more durable version? I've seen wool felt crowns online, but I'm pretty sure it's something I can do myself. Here is the start. I still need to add some stabilizer and fabric covered elastic to the back. I also made the mistake of leaving my little project on the night stand. A set of two year old hands decided to let the dog do some work on it as well. I guess the gift will be from me and the dog :)

I'll be sure to share photos of the finished crown on his birthday.
Have a great day!
-Lisa

Friday, January 7

Turn Your Old Sweater Into Leg Warmers - Tutorial

I accidentally felted one of my sweaters the other day, and it shrunk so much I think it would have been small on my 5 year old. Then it dawned on me. The sleeves were the perfect size for Hannah's legs. She loves to wear skirts, so now she can wear them during the winter and stay warm - yay! I ended up making a pair for myself too, and my goodness do they make a difference. I wear them under my jeans, so you'd never know they were there. If you have ever experienced cold jeans on bare legs - here's the fix...

First find an old sweater. You don't have to felt it, but doing so will make them warmer (you can only felt sweaters that are at least 80% wool - acrylic will not felt). To felt a sweater, just put it in a pillowcase (so you don't end up clogging your machines with fuzzies), tie it closed and wash on hot for 1-2 cycles, then toss in the dryer (still in the pillowcase - trust me).

1) Lay your sweater flat and then cut off each arm like the photo below.

2) Snip off the slanted edge by the arm pit so that you have a straight edge, like the photo below.

3) Turn inside out and fold over half an inch on the cut end and stitch along the edge.


4) Turn right side out and you're done! The wrist end is already finished for you.


This may not be the prettiest leg warmer, but like I said, I wear them under my pants, so no one can see them anyway. My daughter's are a bit cuter...


Give it a try! The whole project takes about 10 minutes, start to finish. What have you up-cycled lately?


Thursday, December 30

Pirate Eye Patch Tutorial

My oldest is rather obsessed with pirates lately, and the fact that now he knows I can "make lots of cool things" with my sewing machine, he put in a request. Thankfully this request was really simple, fast, and the end result was immediately appreciated - which always makes me feel good too.

This is such an easy project, and can be completed with scrap material and elastic. Thankfully I always save the random sizes of elastic that get snipped away for waistbands and what not, so I had everything on hand.

Here's how to make one for your little pirate. I should add, another request has been put in for a pink pirate eye patch - I think I can manage that ;)

Gather your supplies. I used a scrap of thin elastic - to get the right length, I put it around my son's head where the eye patch would be and subtracted an inch. I cut out a 3x3ish square (you can use any size you want really, just make sure it's big enough to cover the eye) of scrap batting (you could also use felt, an old towel, fleece or any other thick and soft fabric). I also cut out two 3x3ish pieces of black quilting weight fabric. You will also need coordinating thread, scissors and a machine (you could do this by hand quickly too I'm sure).

These directions assume a 1/4" seam allowance.

Cut out the desired shape from your batting piece. I just rounded out the bottom of my uneven square shape.

Place that on the black fabric, trace, and cut out so that all three pieces are identical


You should have something like the photo above.

Place the right sides of the black fabric facing each other, and put the batting on top. Take your elastic and make a loose knot in the middle to keep it together (you will be undoing this later, so keep it loose), this will prevent accidentally sewing the elastic to the seams in the wrong place.


Position the elastic ends half an inch down from the top corners, and have them sandwiched inside of the two black pieces, place the batting on top and pin in place. You can't see where I put the elastic ends in the photo, but they were placed just behind each front pin in the photo (closer to the bottom of the eye patch). Again, make sure that your elastic is away from the edges.


Sew around the edges, starting at the top right side, and work your way round to the top left side. Leave a gap large enough to turn the patch right side out.

Snip your corners and edges.

Turn right side out, and top stitch around the entire eye patch, closing the gap at the top in the process.

That's it!


This patch has become a regular addition to my son's wardrobe. Too bad they don't allow pirates at school. Although then it probably would never come off.
Take care!
-Lisa :)


Tuesday, December 28

Handmade Holiday Gifts

As much as I love Christmas, and everything it brings along the way, I also love the days after. The slowing down, and easing back into the rhythm of our days is comforting.

Annnnd, now that the gift giving has ended, I can finally share some of the handmade gifted items of the year - yay! I'm a little frustrated with myself for not taking pictures of everything before wrapping. I gave some things away that I can't share with you all because I failed to take a photo first. I'm sure these photos will be enough :)


I'd like to introduce you to Hannah's little Gnome family. Yes, unfortunately, the nature baby swaddled in maroon has been shunned to sleep with the pigs. Oh Hannah...

And what is a fairy princess with out a wand?

Here's the little stinker in action - constant action. I couldn't get a good shot of her momma-made pixie hat and scarf. Both are my design, I'm working on writing up a pattern to put in my online shop once it opens (more on that later!)

Here's a slightly better shot of her hat...

And, well, momma needs to match right? Right. But, note to self - this should happen AFTER the holiday so I'm not so rushed.

Some super cute (I think anyway) ear warmers. You can find the free pattern here.

We made lots and lots of treats. Here is one of many gift bags filled with Country Oatmeal Cookie mix in a jar, and gingerbread men and dragon flies - yes, dragon flies :)

And of course the holiday outfits I made for the kids. I'm pretty sure I bombarded you with enough of those photos.

I hope you are enjoying your days just as much as we are.
Take care!
-Lisa


Friday, December 17

Handmade Holiday Outfits Part 2


So perhaps not the BEST picture, but trust me, it's sooo cute in person! This is the matching bow tie I talked about making in this post last week. There's tons of tutorials online for them, and they whip up in a snap. I'm pretty sure this little guy took me about 15 minutes start to finish.

I was shocked when Austin excitedly tried it on when I was finished. I thought there would be bribing involved, lol.
I'll share our Holiday picture with both of the kids wearing their momma made gear when it's ready.
Have a great weekend everyone!
-Lisa

Wednesday, December 8

Handmade Holiday Outfit

Yee! Ok, I'm excited to share this little project with you all. Every year I outfit my children in semi-matching holiday garb for our pictures. And every year I end up spending more than I'm comfortable with - at least for an outfit that will only get worn less than a handful of times.

Well this little diddy, cost nothing! Yup, that's right, nothing. Annnnd, it's momma made, which makes it all that much more special to me ;) The fabric was from granny Grace (thank you!!), and the long sleeve onesie was being used as an undershirt already because of a very ugly stain on the front. Well, with a little bit of strategically placed applique (similar to this process), and some sewn on ribbon to create a "present", the top was done (in about 15 minutes!).

The skirt was made from the Lazy Days pattern that you can find for free here. The skirt took 30 minutes to complete, and it's the first time I ever made one from that pattern, so I'm certain the ones to follow will go even faster - if you can imagine that. And yes, there will be lots and lots more.


The photo above is off in color, but I wanted to give you a full length view of the skirt.


My plan is to make a simple bow tie out of the same fabric for my son to wear with a white button down and blue jeans for our photos.

Happy day!

-Lisa

Thursday, December 2

A Place of My Own


After months and months of clearing off the kitchen table, lugging out my machine and thread and fabric and goodness knows what else, each and every time I wanted to sew, I have finally created a space all my own.

A space that allows me to keep everything exactly where it needs to be at all times.

I don't think I'll venture as far as calling it my own studio space (ok, well, maybe in my mind I will), but it is a space, just for me and the things I do.

And oh my goodness am I excited about it! Seriously, I can't even begin to describe my excitement. It is so much easier to get projects done. If you have your own space, you know what I'm talking about. If you don't, try and make room for one.

Mine is not glamorous by any means, in fact, it's far from it, lol. I have sectioned off a very small portion of our unfinished basement. I placed a fold out banquet table there, accompanied by, of course, a folding chair, lol, and an odd shape of remnant carpet underneath. I was able to organize our wire rack pantry to accommodate my fabric stash, and ta-da! Instant working space.

I refuse to show you anything but close up pictures right now, because really, it's just a basement, and not all that pretty. I'm just so excited about it (and my new serger! - you can tell I haven't used it yet from the photo, lol), I couldn't wait any longer. I've been using this space for about 3 weeks now, and I'm getting so much more done. I'm pretty happy, in case you couldn't tell :)
Have a great day!
-Lisa :)


Tuesday, November 30

Table Runner / Trivet

Last Thanksgiving, which was the first time I ever hosted, I had trouble finding places for all of the hot food. I won't dare place hot dishes directly onto the table itself. So I was left with the options of either putting towels under everything (which we don't have enough of anyway) or leaving the dishes on the counter. We did the later, but I didn't like that everyone had to keep getting up from the table.

This year I came up with an idea. Why not make a super long trivet for all the food? So, that is what I did. I pretty much followed my trivet/pot holder tutorial, but just kept the bottom part. Our table can very comfortably seat 10 when the extensions are in place, so I made sure it was long enough to accommodate that. I quilted the insulated batting straight up and down so that the ends would fold over neatly, and so that it would roll up nicely for storage (see the photo above).

This really came together pretty easily - aside from the biased tape. I swear, I hate the stuff. I just can't ever get it to look nice. The fabric, again, was from Granny Grace, so the total on this project set me back I'd say about $5 or $6.

The photos below show how it's used. Unfortunately, I decided to start making this the night before Thanksgiving, and was still working on it when my family arrived. Thankfully they're pretty laid back, so the fact that it still had pins in place, and long threads hanging off the sides didn't phase them :)

I finally sat down and finished this yesterday afternoon.


Have a great day!

Tuesday, November 16

Insulated Coasters & Upcycling

First and foremost, I just want to say, I'm not too proud of these. I was a little bummed with the bias tape and how cruddy it handled (eh, "I" handled) the corners. I'm sure all it boils down to is that I put it on wrong - I'll have to search that.

But, what I am happy about, is that we had a small problem, and I was able to fix it for free, using materials we already had around the house. I get sooo excited about doing things like that.

We recently purchased a lava lamp for my 2 year old daughter. She has been having trouble sleeping at night, and I thought the slowly flowing globs of color might soothe her a bit. If you have ever owned a lava lamp, you know that the bottom gets very, very hot. So hot, that it made me nervous to leave it on at night for her (which was the reason we bought it).

My solution?

Insulated tiny hot pads!
I made six, even though we only have one lava lamp. I just can't help myself sometimes. But we have found other uses for them. They fit perfectly under my coffee and tea mugs - yea! And if you ask my children, well, they are quite possibly the very best flying saucers they have ever owned.
It was really simple to do. I used one of Hannah's old flannel baby blankets for the outer material. Then, as batting, I took a stained old towel and sandwiched it in between the flannel fabric, pinned it down and quilted the three pieces together following the pattern on the flannel fabric. You could also just do straight lines every inch or so. Using a compass, I drew circles directly onto the quilted piece and then cut them out. I pinned on some thrifted bias tape, sewed it on, and wah-la!

What have you thrown together in a pinch lately? Please share in the comments section!

Take care!

Thursday, November 11

Just a Little Bit More


I am on a mission to redo Austin and Hannah's bathroom for as little as possible - where money is concerned anyway. I found this super cute fabric at a local store on clearance, and ended up paying about $2 for two yards. I love it! Look at those cute blue birds and graphic trees - they make me smile.

So, here are two of the projects for that room. The hand towels above were super easy, and took about 30 minutes to finish them both (with Hannah crawling up legs and on and off of my lap). To make your own, just measure your hand towel (I found these in our closet, we haven't used them in years. I just got lucky with the color) and add 1/2" in the height to accommodate a 1/4" seam allowance on the top and bottom. Sew across, and once you get to your edges, trim, fold them under, press and then top stitch.

The second picture is a bath mat (a.k.a. the kids old hand towels). I know this project is from Amanda Soule, but I'm not sure which book it was in. My guess is Handmade Home. I didn't follow instructions of any kind, I just looked at it and decided to wing it (I don't own the book - it's definitely worth checking out though. She is a huge inspiration for me, and if you have time, you might want to stop by her blog - it's amazing and full of beautiful photography). I think I'm pretty close to spot on with it, and even if I'm not, I'm happy with how it turned out.
I plan on making a fabric shower curtain using appliques to mimic some of the graphics in the fabric design. I just need to find a solid white cotton curtain...

Our local hardware store sells VOC free primer and interior paint and the prices are pretty competitive with the smelly stuff - so we'll definitely be going the healthier route for the paint. I'm sooo excited to get some color on those walls!

I have a few more projects up my sleeve, but more updates on that are sure to come.

Take Care!