
It's terribly chilly outside, and raining. My youngest is fighting off a fever and needing lots of momma cuddles. I'll be back tomorrow with more crafty goodness. Wishing you a warm, sunny, and healthy day.


 With all that cloth diapering talk yesterday, how could I not follow up with my soakers? Wanting to stay away from synthetics, I chose to knit my own wool soakers to go over the newborn size fitted diapers. They are so expensive to buy, ranging from around $35-$65 each. Considering you need at least 3 for each size (or so I've been told), I had to make my own. I used two different patterns, as well as two different brands and textures of 100% wool (it has to be 100% to work correctly). Since again, I really have no way of knowing what will fit and work for this baby, I am playing it safe and potentially saving myself from hours of wasted time. Whichever style works best, I'll just make more as I need them. Both patterns were free, but I'm having a difficult time locating the pattern for the style above. As soon as I do, I will update this post with a direct link.
 You can find the pattern for this one here. I used the suggested yarn/roving for each pattern. Each skein was around $7 dollars, and I only needed one for each soaker. That's a whole lot of savings.
 After not too much debating, Chris and I decided to cloth diaper this next baby of ours. Between the cost savings, garbage reduction (which we pay for the removal of), and lack of chemicals on the babes bum, it was kind of hard to not at least give it a try. I had thought about it a lot when I was pregnant with Hannah. The overwhelming amount of information left me too scared and intimidated to give it a go. Thankfully, this time when I started my research, it was a little bit easier. The big difference this time was finding an online community of cloth diapering momma's to take my hand and walk me threw the process.
 Even though the diapers I bought are one size fits all, they will most likely be too big for the baby for the first few weeks. So I decided to make a few of my own from materials we had around the house. I obviously have no way of knowing if they will work well until the baby comes, but they are just too darn cute to not share. You can find a ton of diaper tutorials all over the web, and the materials you choose are a personal preference. I didn't want synthetics on my newborn's bottom, so I used flannel and cotton for these. Based on the recommendations of some more experienced momma's, I followed this free pattern and tutorial.
 Can I just say, I am sooo excited to be sharing this sweater with all of you. For a few reasons actually. First, I'm just thrilled my crafty/creating motivation finally came back to me a few weeks ago. I was really starting to get worried about that.
 Here she is modeling it. And truthfully, it was really difficult to get a picture of it because she kept trying to grab it and put it on. Once it was on, she had to dance and twirl in it, because after all, it is a "dancing sweater".

 Playsilks, love them. So do my kids. To be honest, when I first heard about them, I thought they were kind of silly. And I really didn't think my kids would actually play with them much. Boy was I wrong. They're just large dyed silk scarves - well, to an adult anyway. To a child, they can become blankets, rivers, capes, magic shields, princess veils, ghosts.... The list goes on and on, and only stops when the creative play does too.
 2) Mix packet of kool-aid (1 for a pastel effect, up to 3 for bright vivid colors), 2 cups vinegar, and 3 cups hot water. Stir to dissolve.
 3) Add the scarf and mix around until fully colored. Use kitchen tongs or some sort of utensil for this, the colored water will stain your hands.
 4) Once you have the color you want, rinse the scarf under luke warm water until the water runs clear. Squeeze excess water out and hang to dry.

 If you have children, I'm sure they are eagerly awaiting a visit from a certain big-earred, fluffy bunny. I know mine are.
 For the last six months or so, I've been searching for a natural, aluminum free deodorant that will actually work.
 I've been wanting to make English muffins for a long time, but kept avoiding it because I was intimidated. Well, I finally decided just to go for it, because really, is it that big of a deal if it doesn't work out - of course not. Thankfully though, they were surprisingly simple, and turned out a lot better than I had anticipated. ** I have not provided a bread recipe here, the one I use is copyrighted, however, any bread dough will work as long as it's made with yeast. You will also need a griddle ** To make these, you will need to use a yeasted bread recipe - whichever is your favorite. I can't share mine, because it's really not mine. I use the Tassajara Bread book for our sandwich bread. The recipe yeilds two loaves, so instead of the two, I made one loaf, and used the rest of the dough for the english muffins. That gave me enough dough to make 12 muffins. Here's how to do it... After your dough from your bread recipe has been punched down, and then given time to rise again, dump it out onto a lightly floured surface. Sprinkle a little flour on top of the dough, and roll it flat to about 1/4". To cut out my ciricles (you want them about 3" in diameter for standard size, but it really doesn't matter) I used the rim of a large coffee mug. Place the cut out circles on a wooden board or parchment lined cookie sheet that has been lightly dusted with either flour or cornmeal, and then sprinkle more flour or cornmeal on top. Cover with a towel and let rise until doubled in size (about 20-30 minutes). Heat your griddle to high and cook the dough circles one side at a time. Reduce the heat to medium after a minute, and cook for about 5-7 minutes. Repeat the same process for each side. After this, I couldn't tell if my muffins were cooked all the way, so I placed them in my oven for about 10 more minutes at 350 just to be sure. They turned out fantastic! If you've ever had the desire to make your own english muffins, try it! You'll be surprised at how simple it really is. Have a great day, Lisa

 photo credit


 About a week or so ago, I shared this photo of my first attempt at wet on wet watercolor painting. I wanted to experiment with it a bit before introducing it to my children. We all sat down the other night and gave it a go. The kids loved it! And I loved that while they were painting, they were creating little stories and characters out of the images that were being created. This is more abstract, and because the paper and paint are both very wet, it's near impossible to make "perfect" pictures, which can be great for the little artist who is not so sure of themselves. You could almost compare this to finding images in clouds.
 I started with only two colors for each child so they wouldn't end up with a large brown smudgy picture.
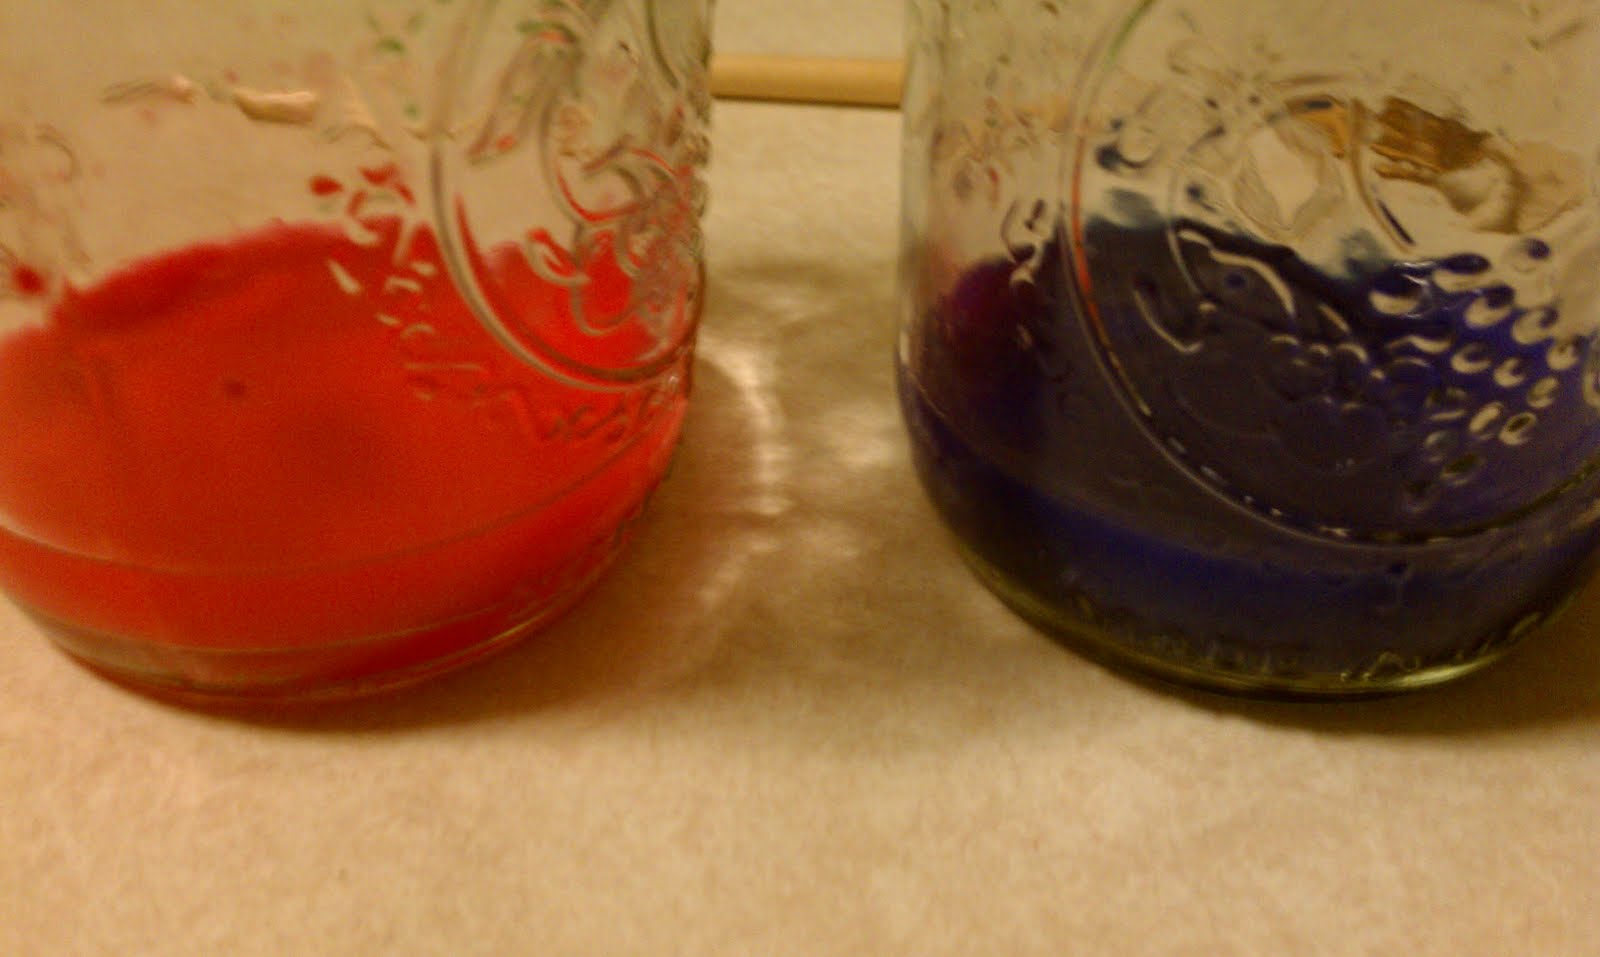 To avoid major spills, or flying paint (you never know!), I only gave them each as much paint as I thought they would use up. The amount in the pictures was actually still too much, but we didn't encounter any huge issues, so it was okay. I also cut each water color paper sheet into fourths. My children are smaller, so I think that works better for them, and it also made each page small enough to fit on a ceramic plate for the painting process (again, avoiding a huge potential mess).
 Instead of dunking the paper in a bin of water, I just ran it under the faucet, and made sure every part was wet. Then I very lightly sponged off the excess water, put it on a plate and handed it over to the kids.


 I just started making bread pudding a couple months ago, and it has been a huge hit in my house. I found an incredibly easy recipe for it at allrecipes.com, but have adapted the original enough that I think it's safe to share my version here.


